Starting a new web application security scan is very simple. There are several ways you can do that. You can either use the command line, as discussed in the previous post, or you can use the user interface.
Before we look at the details, the most important design concept that you must be familiarised with is that of the Workspace. In simple words, a workspace is a data storage where all of your results will be stored. As such, you must have a workspace before starting a scan. A single workspace may contain the results of dozens of scans. Websecurify automatically handles the workspaces for you and presents you with the appropriate controls to create, rename, delete and, in general, manage your workspaces.
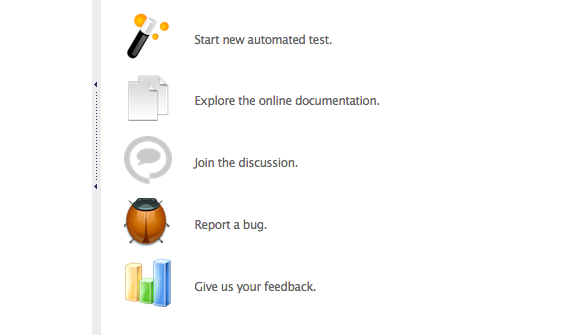
Let's start a scan! Simply click on the "Start new automated test." button or select the "Start Test" menu item from the File menu.
You should be able to see the following dialog:
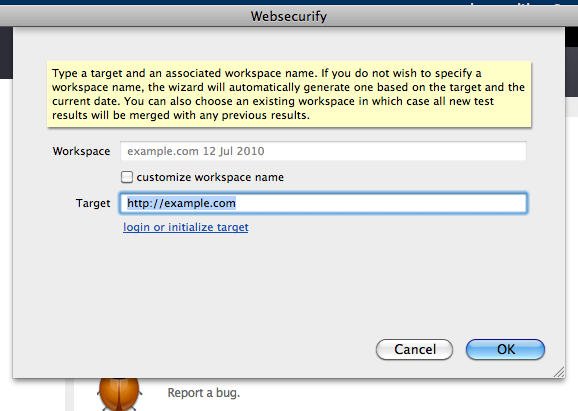
Now you can type the target application url. Notice how the workspace field dynamically changes. This is basically the name of a brand new workspace that will be created for this particular test. However, if you click on the "customize workspace name" checkbox, you will not only be able to use any name you like but also choose an existing workspace, in which case all new results will be automatically merged with any previous results.
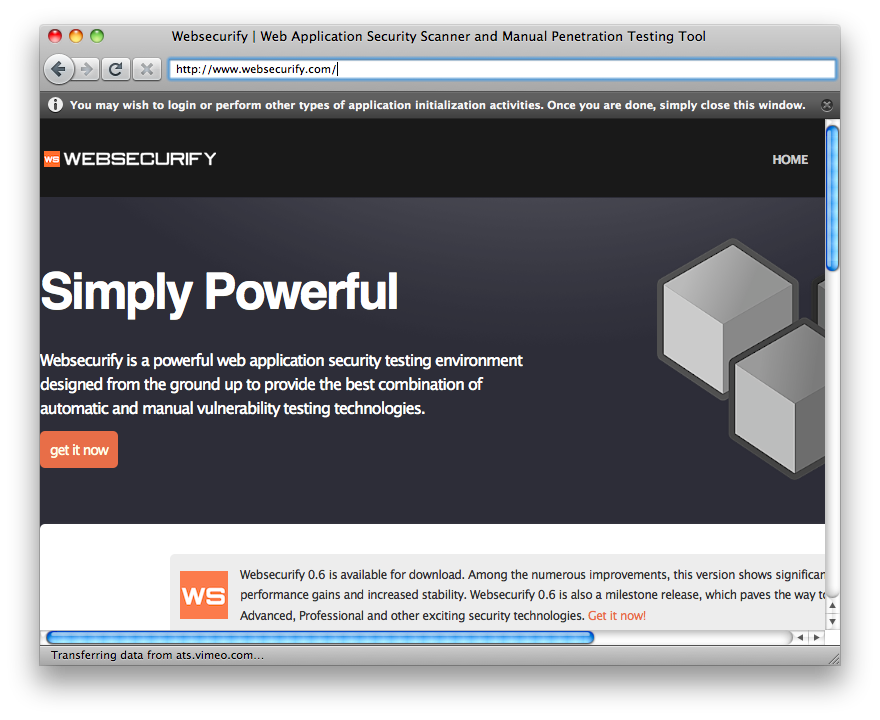
Another feature from this dialog that you may find useful is that of the "login or initialize target" link. If you click on the link, you will be presented with a browser which you can use to login into your application or perform other types of application initialization activities before you proceed with the test.
Once we are happy with the settings in this page, it is time to launch the scan. Click the "OK" button.
The progress of the scan is displayed in the "Tasks" window.
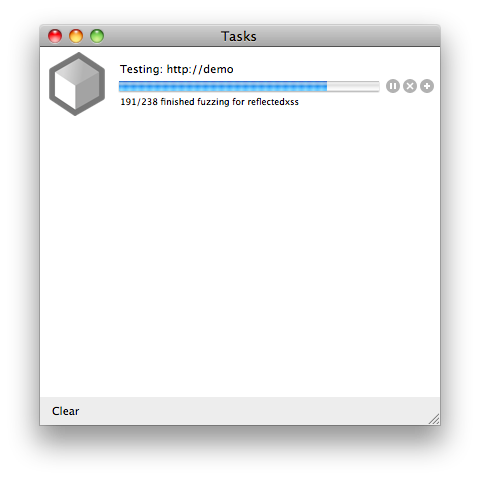
The purpose of the "Tasks" window is to allow you to pause, resume, stop all current scans. You can also click on the "Act" button (far right, the plus sign) and see the scan results unfolding in front of your eyes. This window is there for your own convenience and as such you can close it if you don't need it. You can reopen it again from the "Tools" menu.
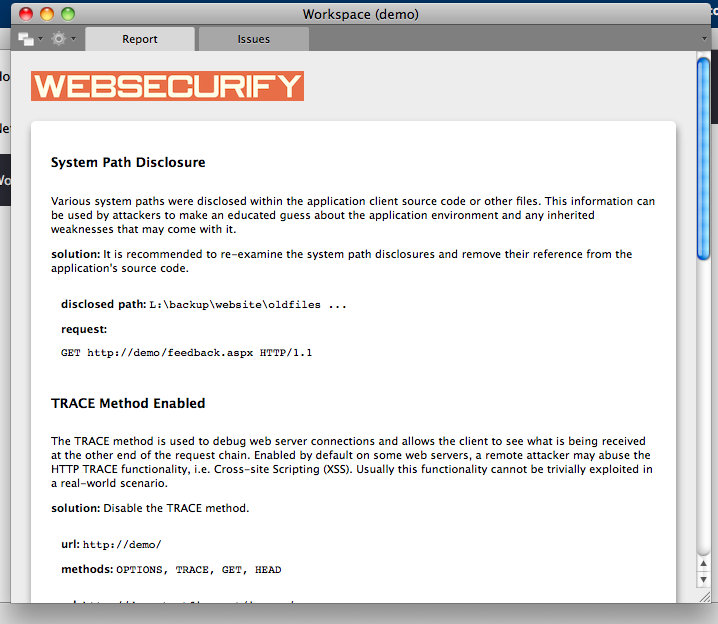
The workspace window, which displays all the test results looks like this:
You can access this window in several ways: by double clicking on the task, the workspace in the Workspaces tab and window or by clicking on the act button on the individual task and workspace items from the "Tasks" and "Workspaces" windows respectively. In other words, launching scans, controlling them and previewing the live results during the scan or offline is very intuitive and straight forward processes.
In the next post we will see how you can start and control multiple concurrent scans.