In this tutorial we would like to show you how simple it is to utilise the Fuzzer to create your own ad hoc tools and testing strategies. In particular, we will cover how to create comprehensive bruteforce attacks in 8 steps. In practice, it does not take that many but we also use the opportunity to show you how to use the tool to its potential.
Let's get cracking!
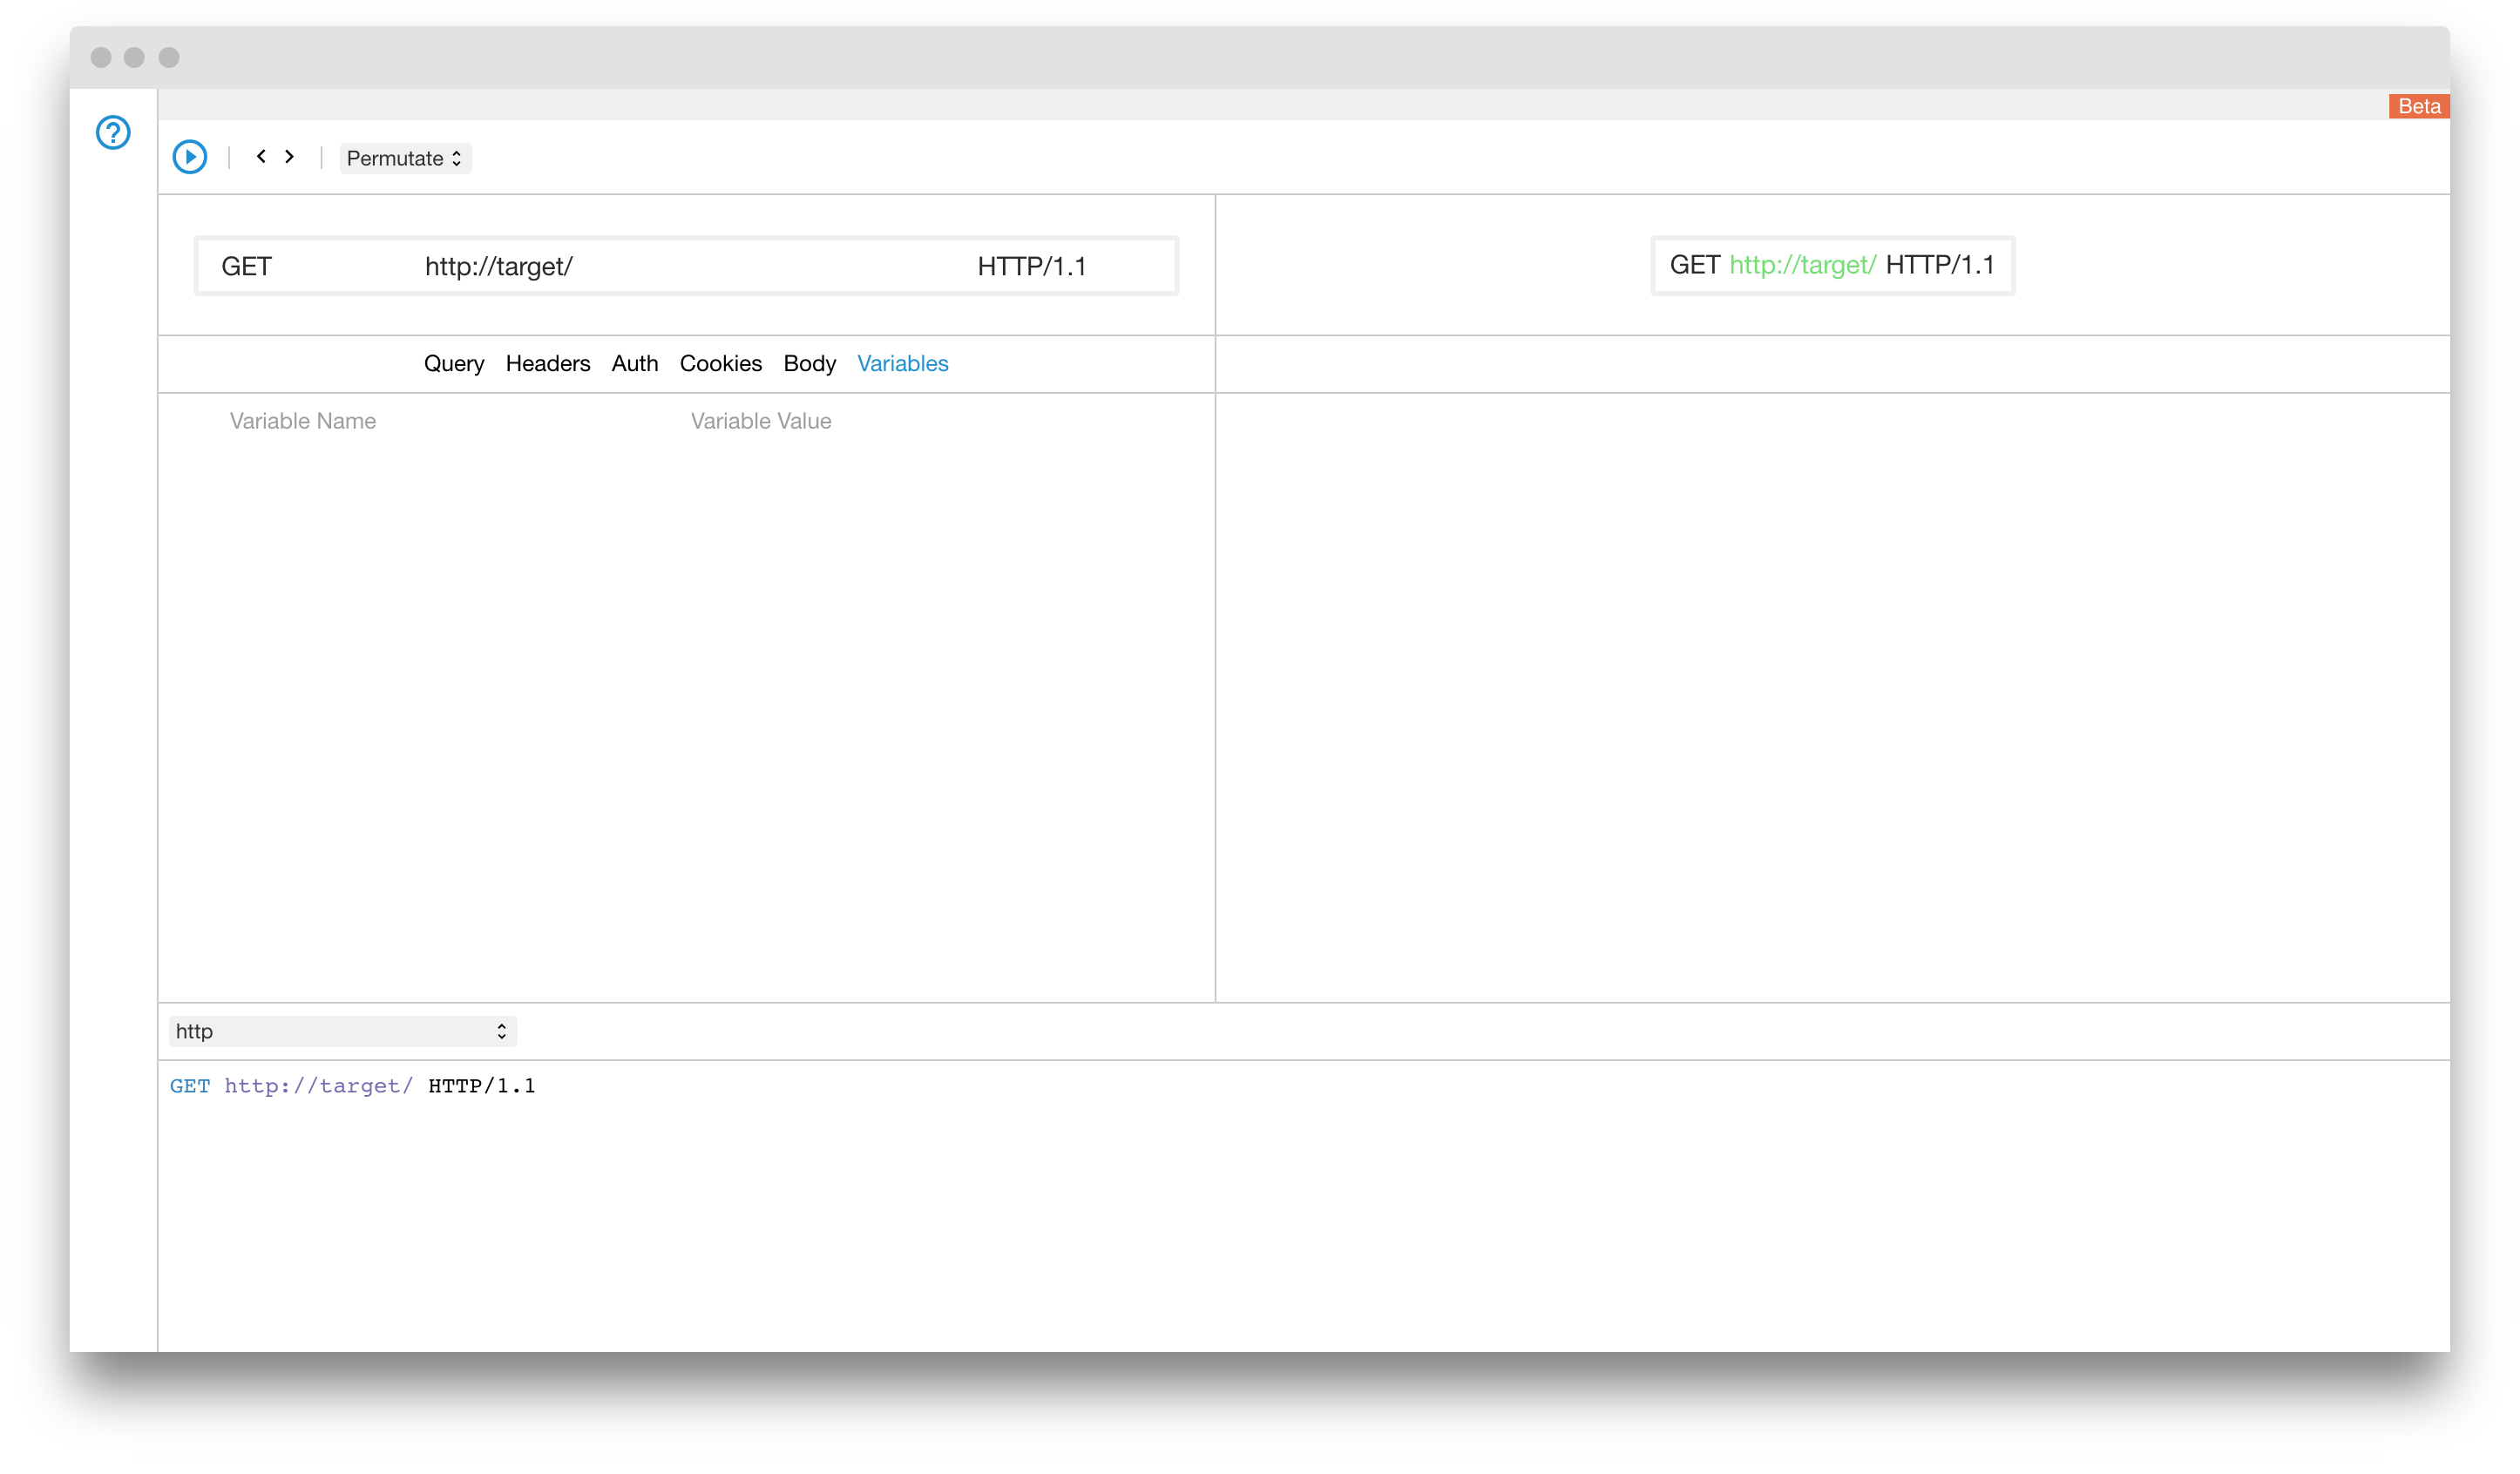
Step 1
Open the Fuzzer. Navigate to the variables tabs to setup two lists that we will use later. This is an optional step but it makes everything a lot nicer especially if we want to tune our fuzz-testing strategy at later point.
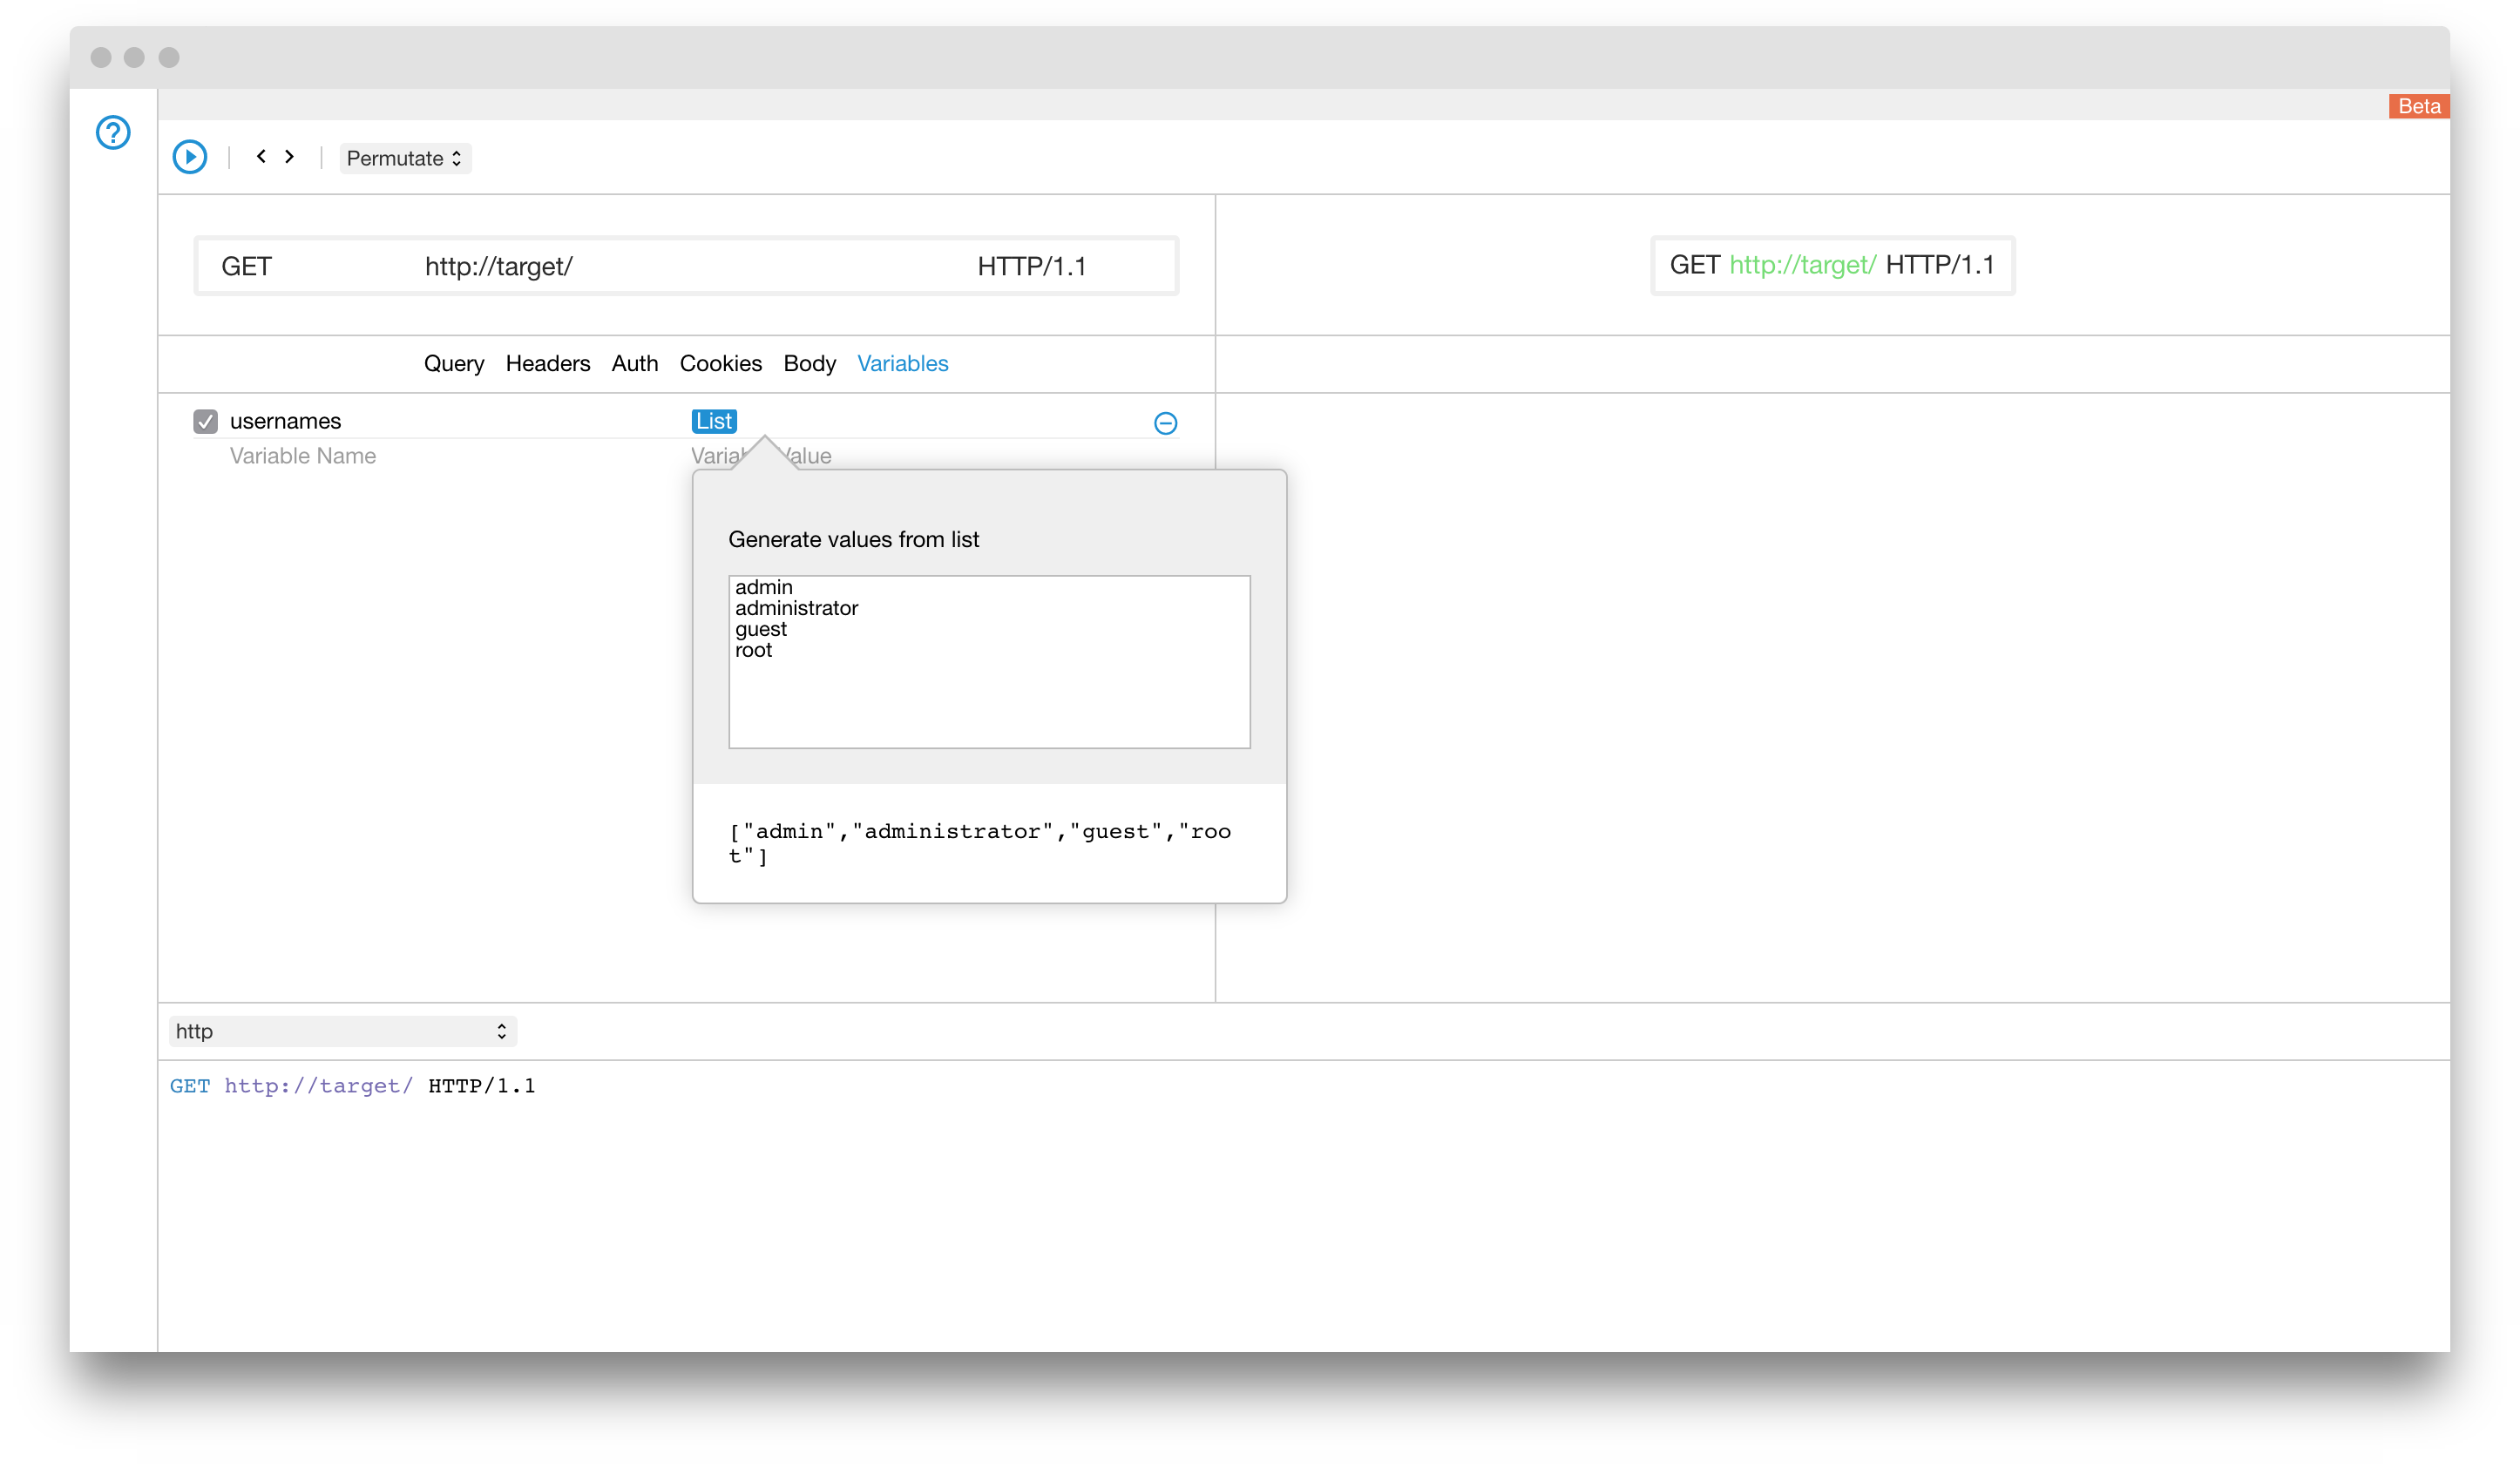
Step 2
Type usernames for the first variable name. The value is a list which will contain all the usernames we would like to bruteforce. To create a list, select it from the dropdown or simply start typing list until it autocompletes.
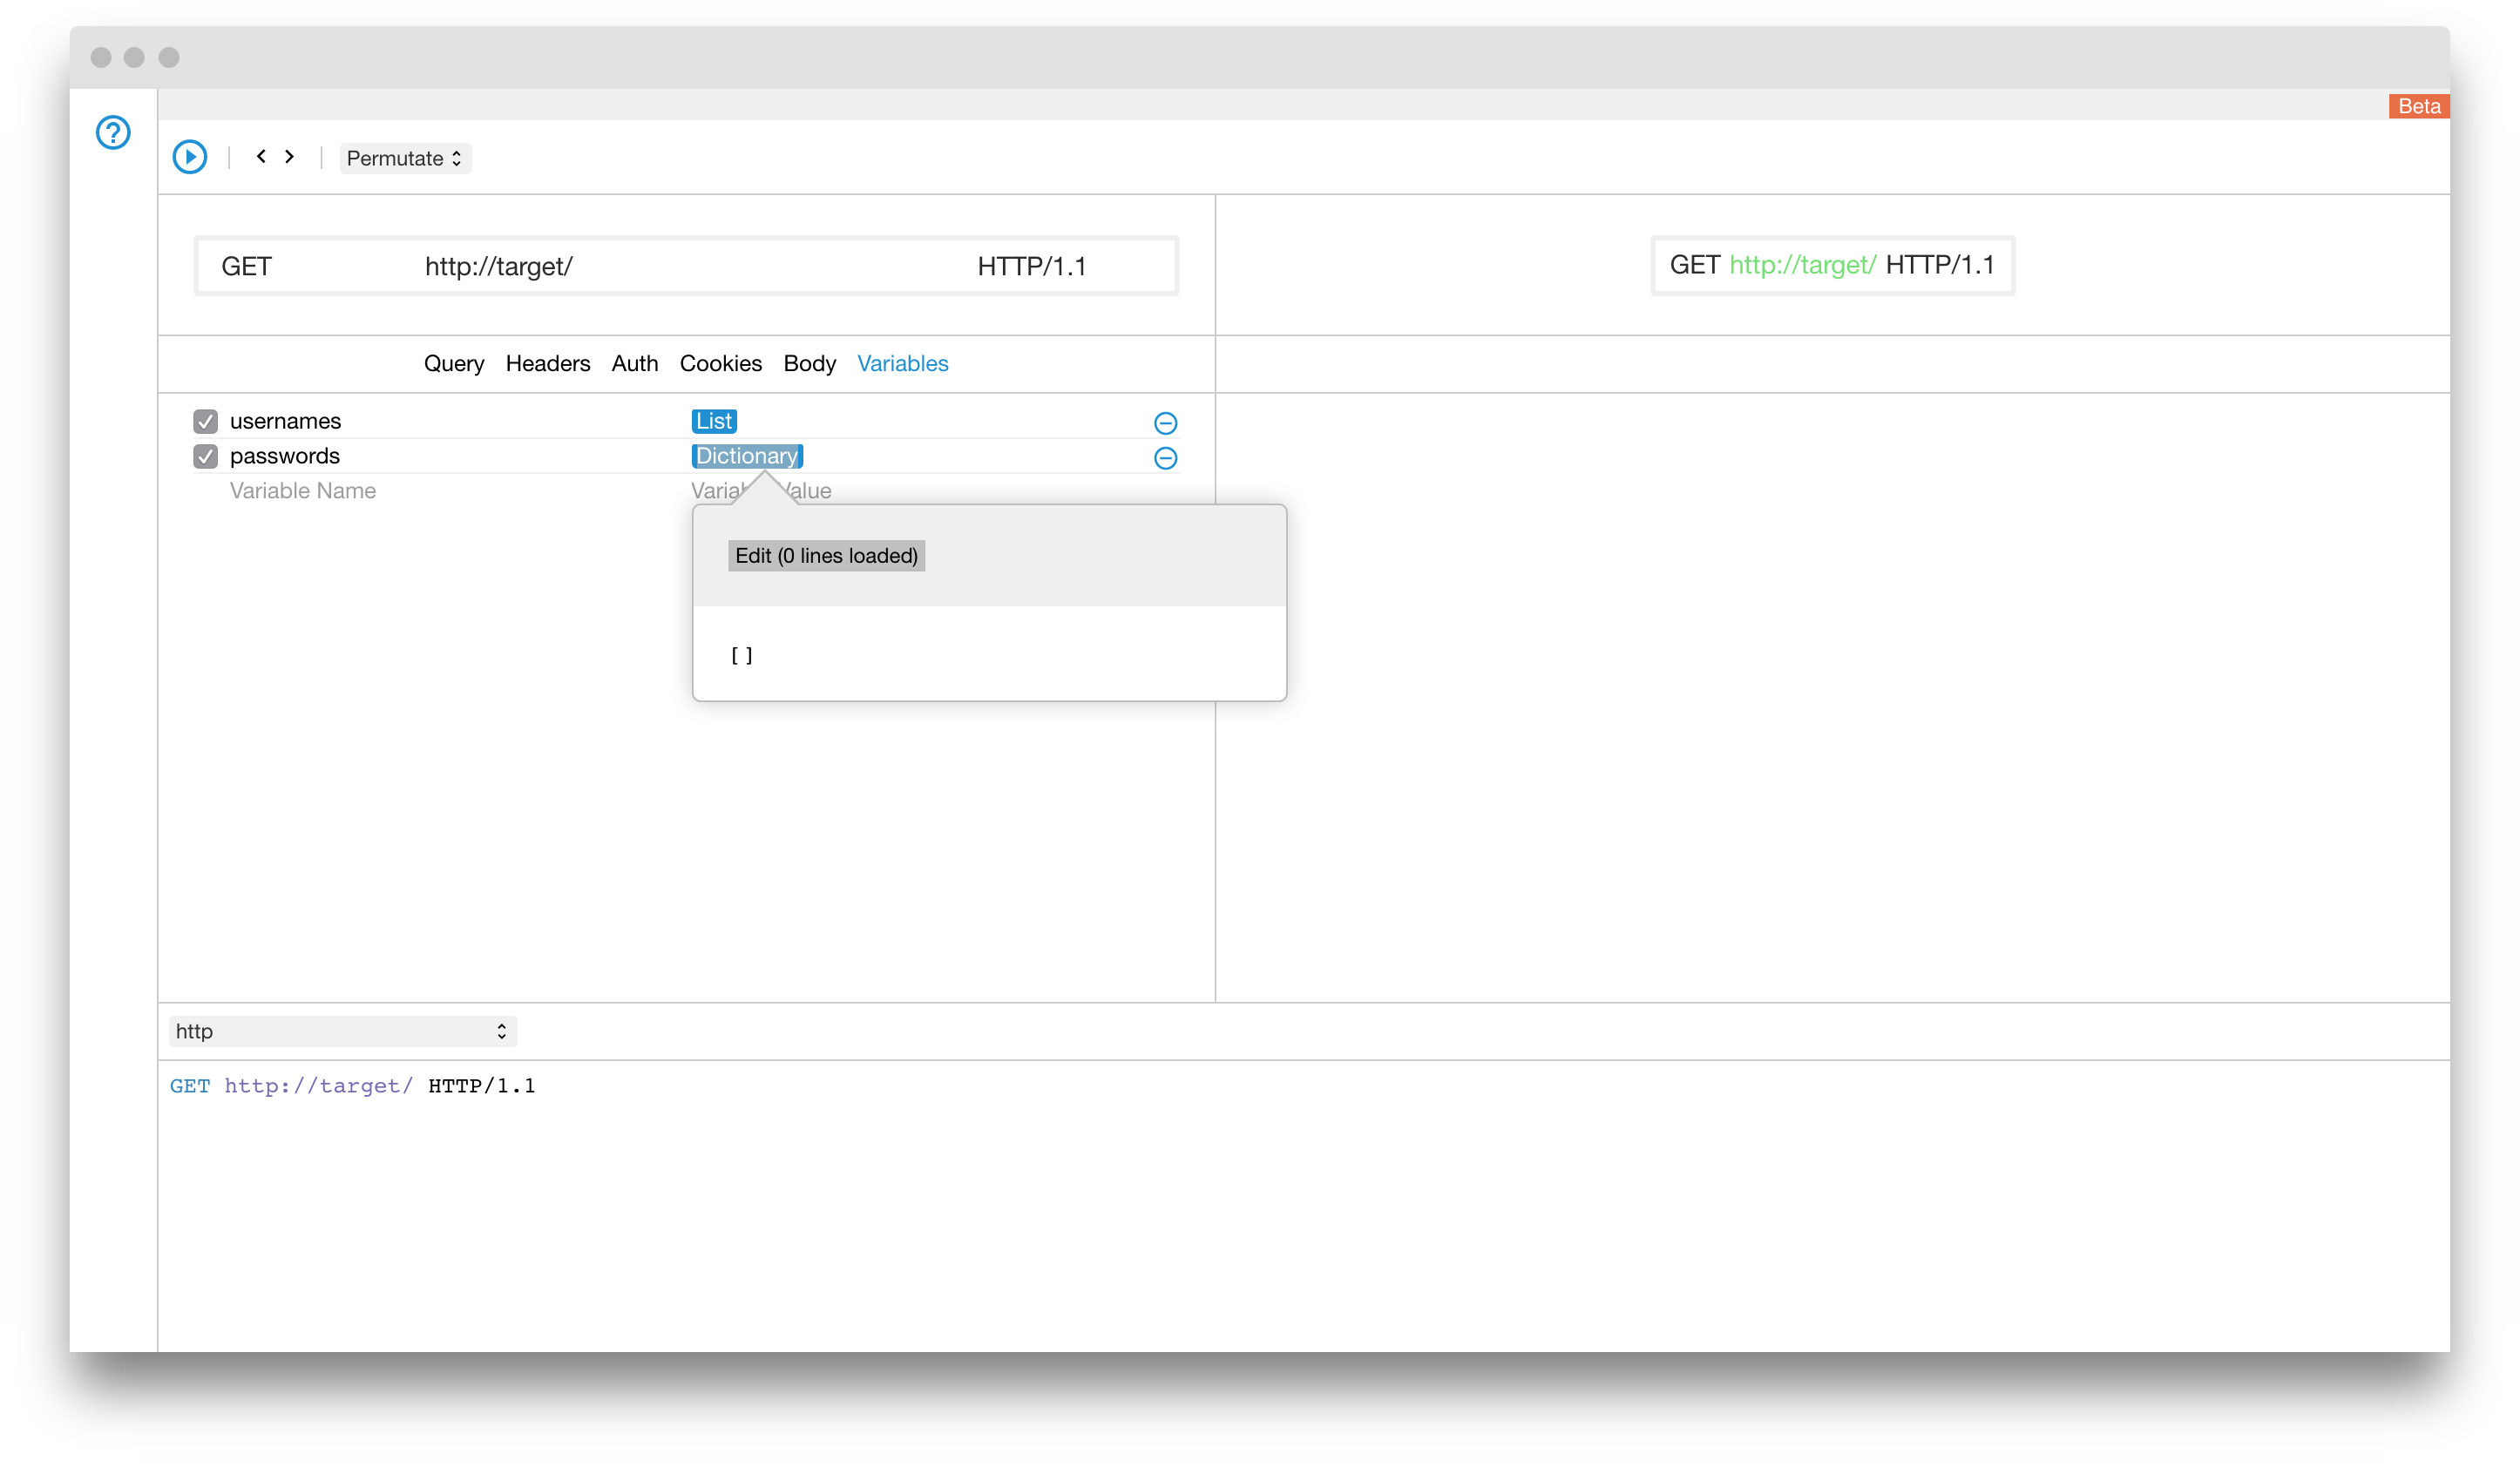
Step 3
The second variable is called passwords. We can use a list as well for the variable value but it is easier to use a ready-made dictionary that is specifically designed for this type of testing. This is why we will use a dictionary generator. Select Dictionary from the dropdown list or start typing dictionary until it autocompletes.
Step 3a
Click on the edit button and go straight to the Load a common list button.

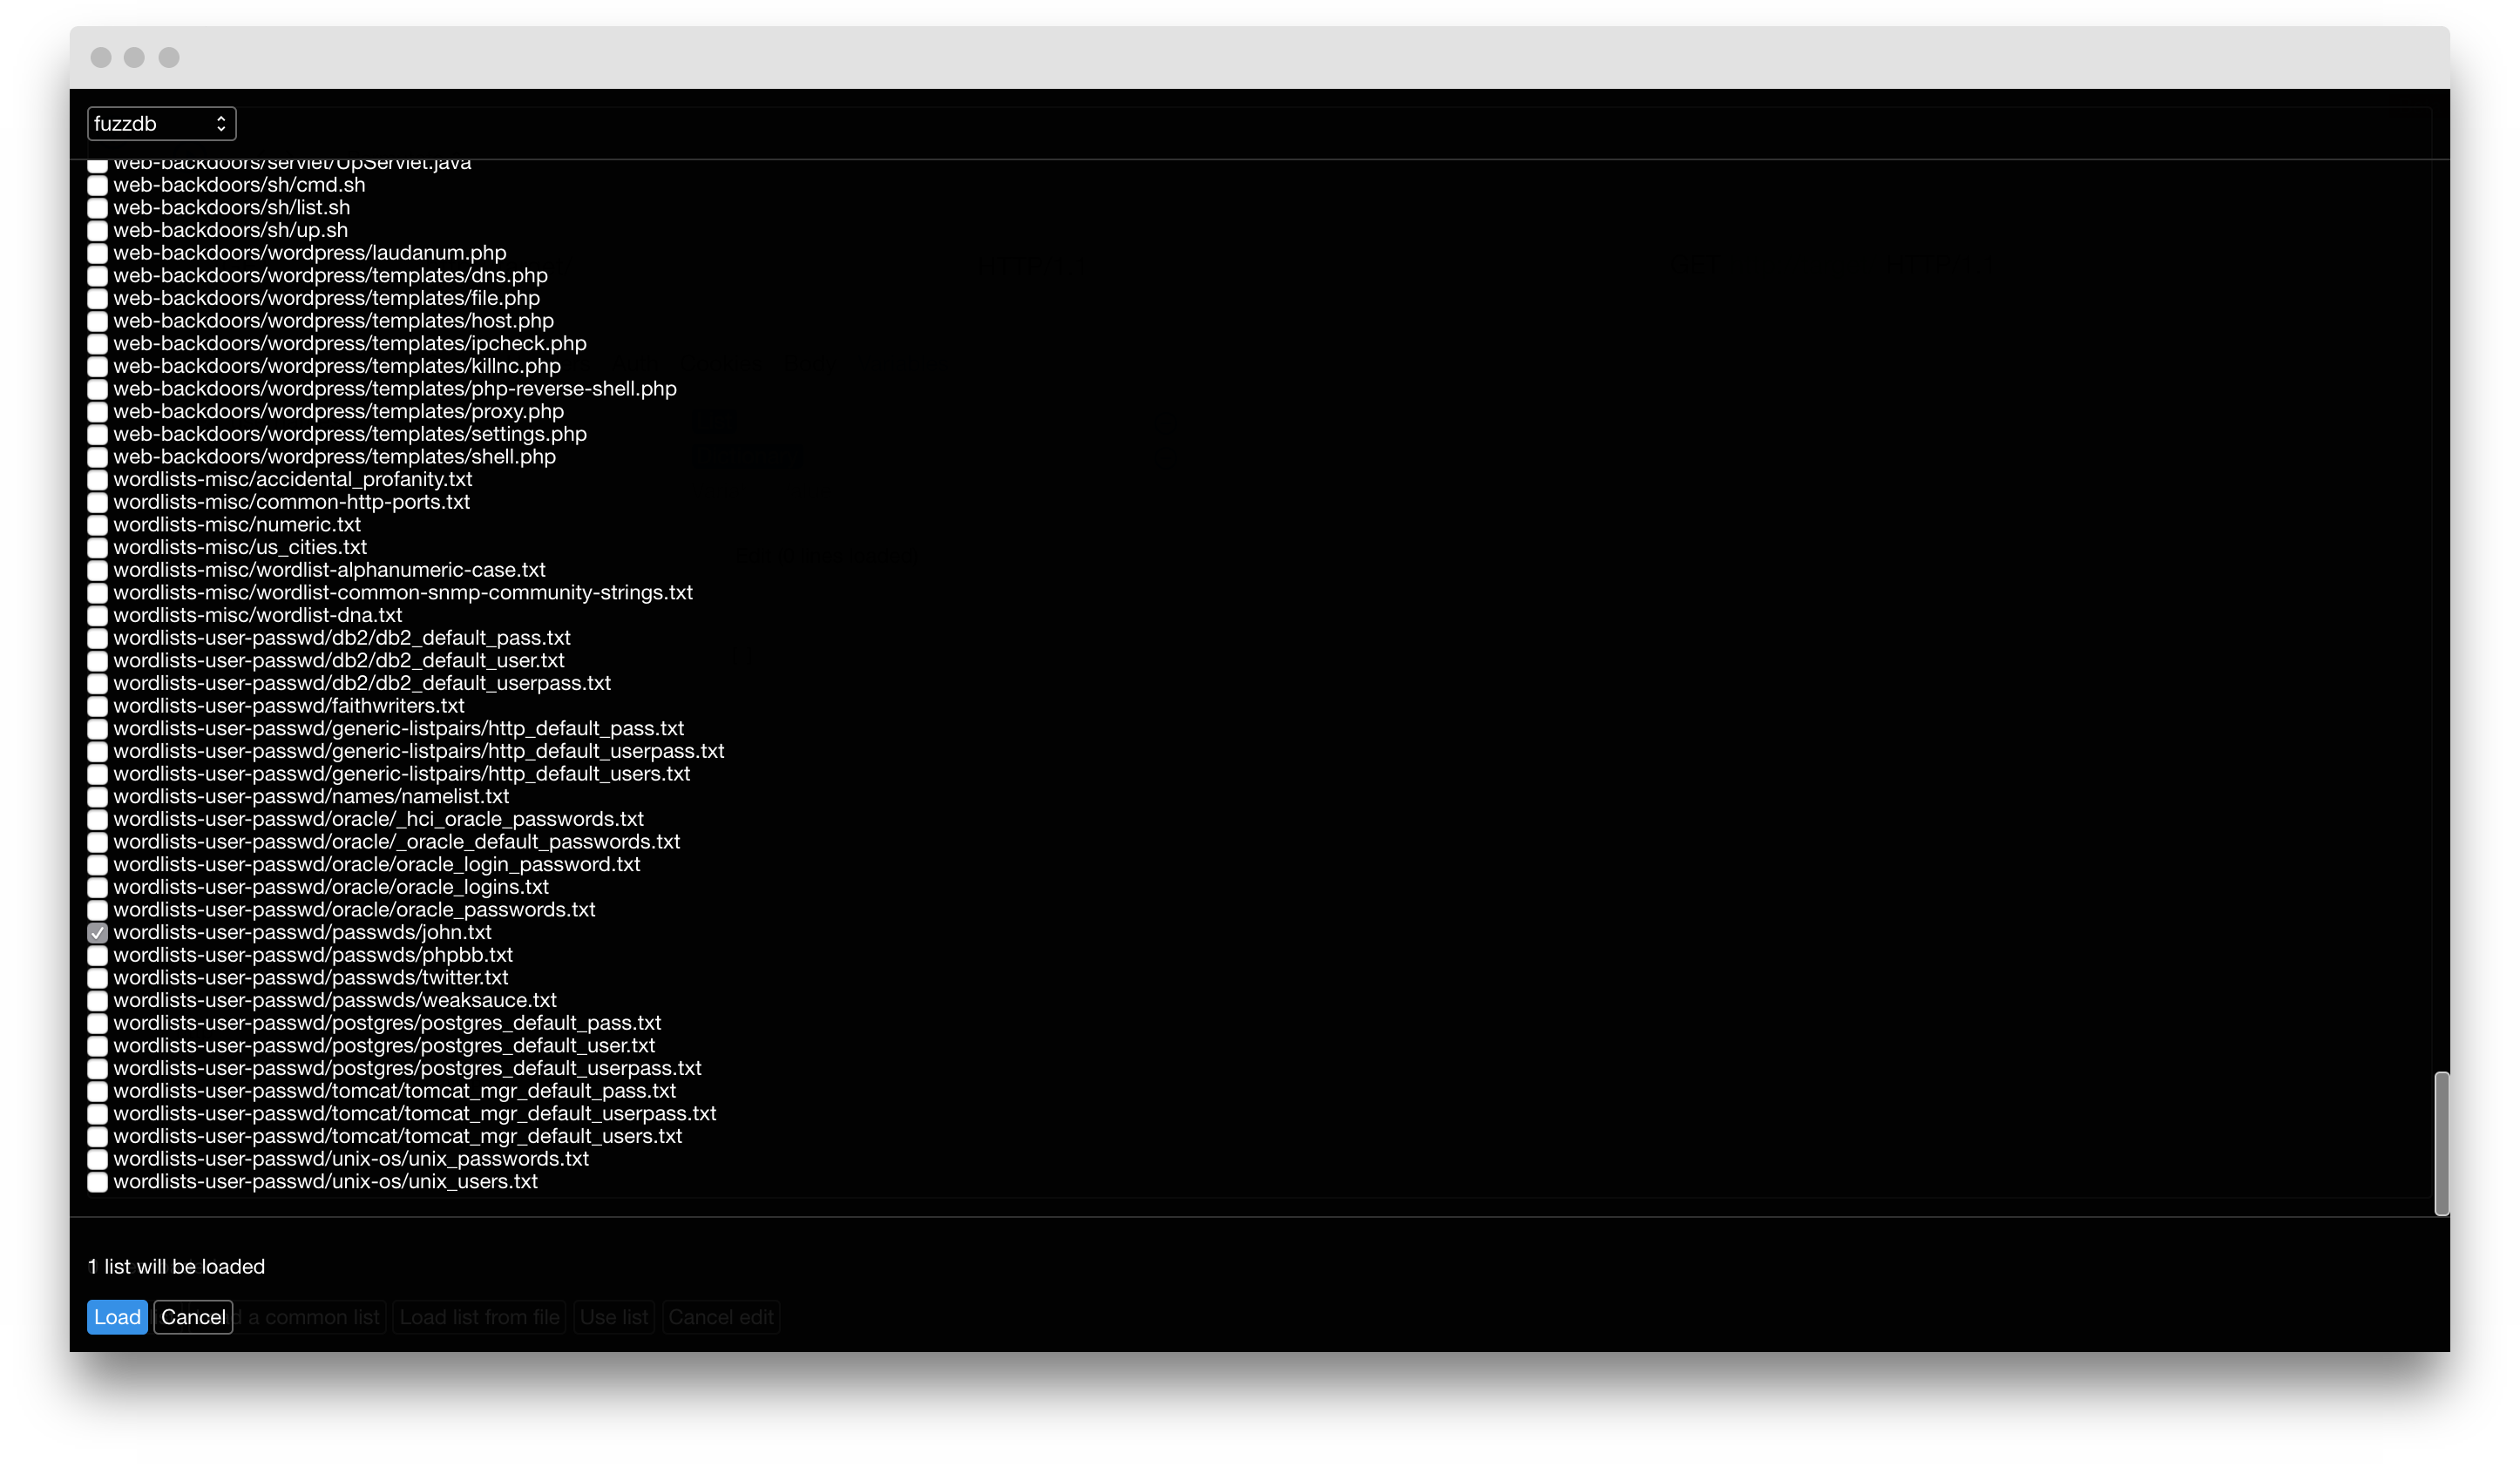
Step 3b
From the dropdown select fuzzdb. We will be using the infamous fuzzdb dictionaries for this part of the tutorial.

Step 3c
Scroll all the way down and select the wordlists-user-passwd/passwds/john.txt dictionary.
Step 3d
Click on Load button and then Use loaded lists button. Once the dictionary is loaded click on the Use list button. Now the dictionary is loaded and ready to use. Keep in mind that you can use multiple dictionaries.

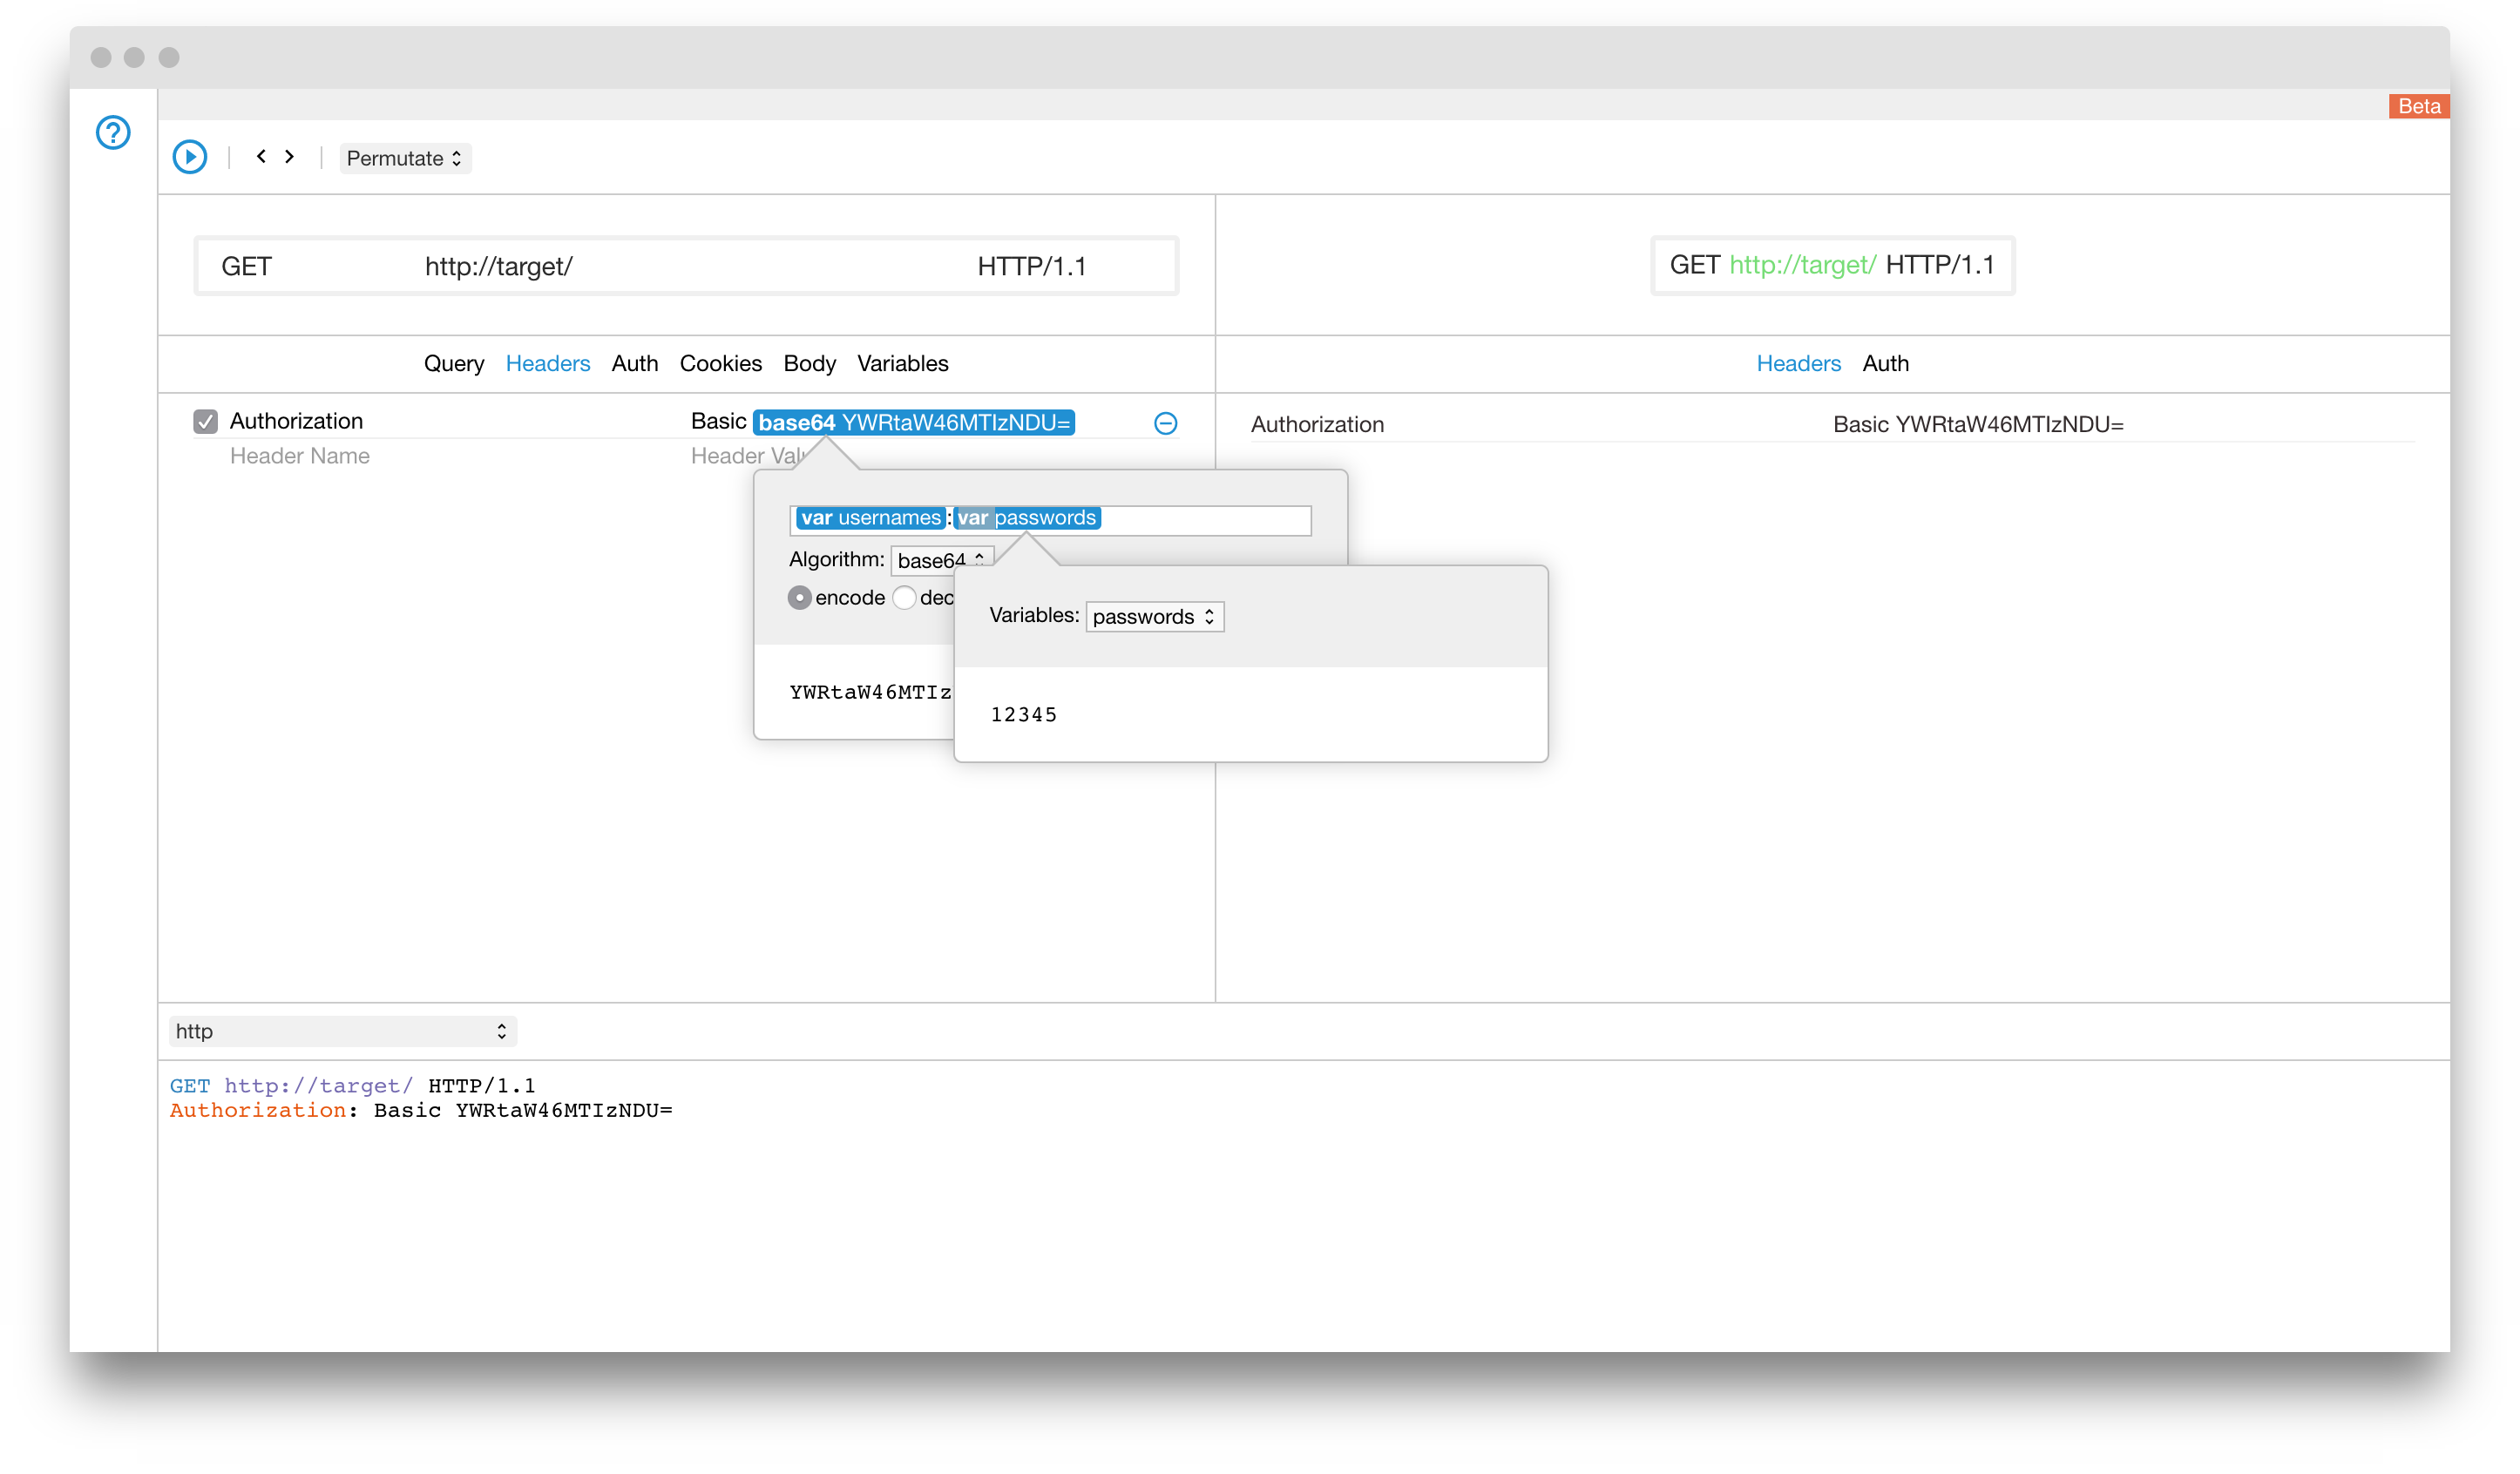
Step 4
In this tutorial we will be doing Basic Auth testing as it requires a few more steps to setup, which makes this tutorial more interesting. Navigate to the Headers tab. Type Authorization for the header name. The value header starts with the string Basic meaning that this is going to be a basic authorization header. Finally we need to provide the username and the password in base64 format. Select Encode from the dropdown menu or start typing encode until it autocompletes. Click on the item and make sure you select the base64 algorithm set for encoding.

Step 5
Now is time to build the basic authentication username:password pair. If you remember we did set two variable earlier that hold these two. Select variable from the dropdown menu or start typing variable until it autocompletes. Select the usernames variable from the dropdown.

Step 6
You need a column to separate both variables. Create another variable placeholder by typing variable until it autocompletes. Select the passwords variable from the dropdown to setup the passwords.
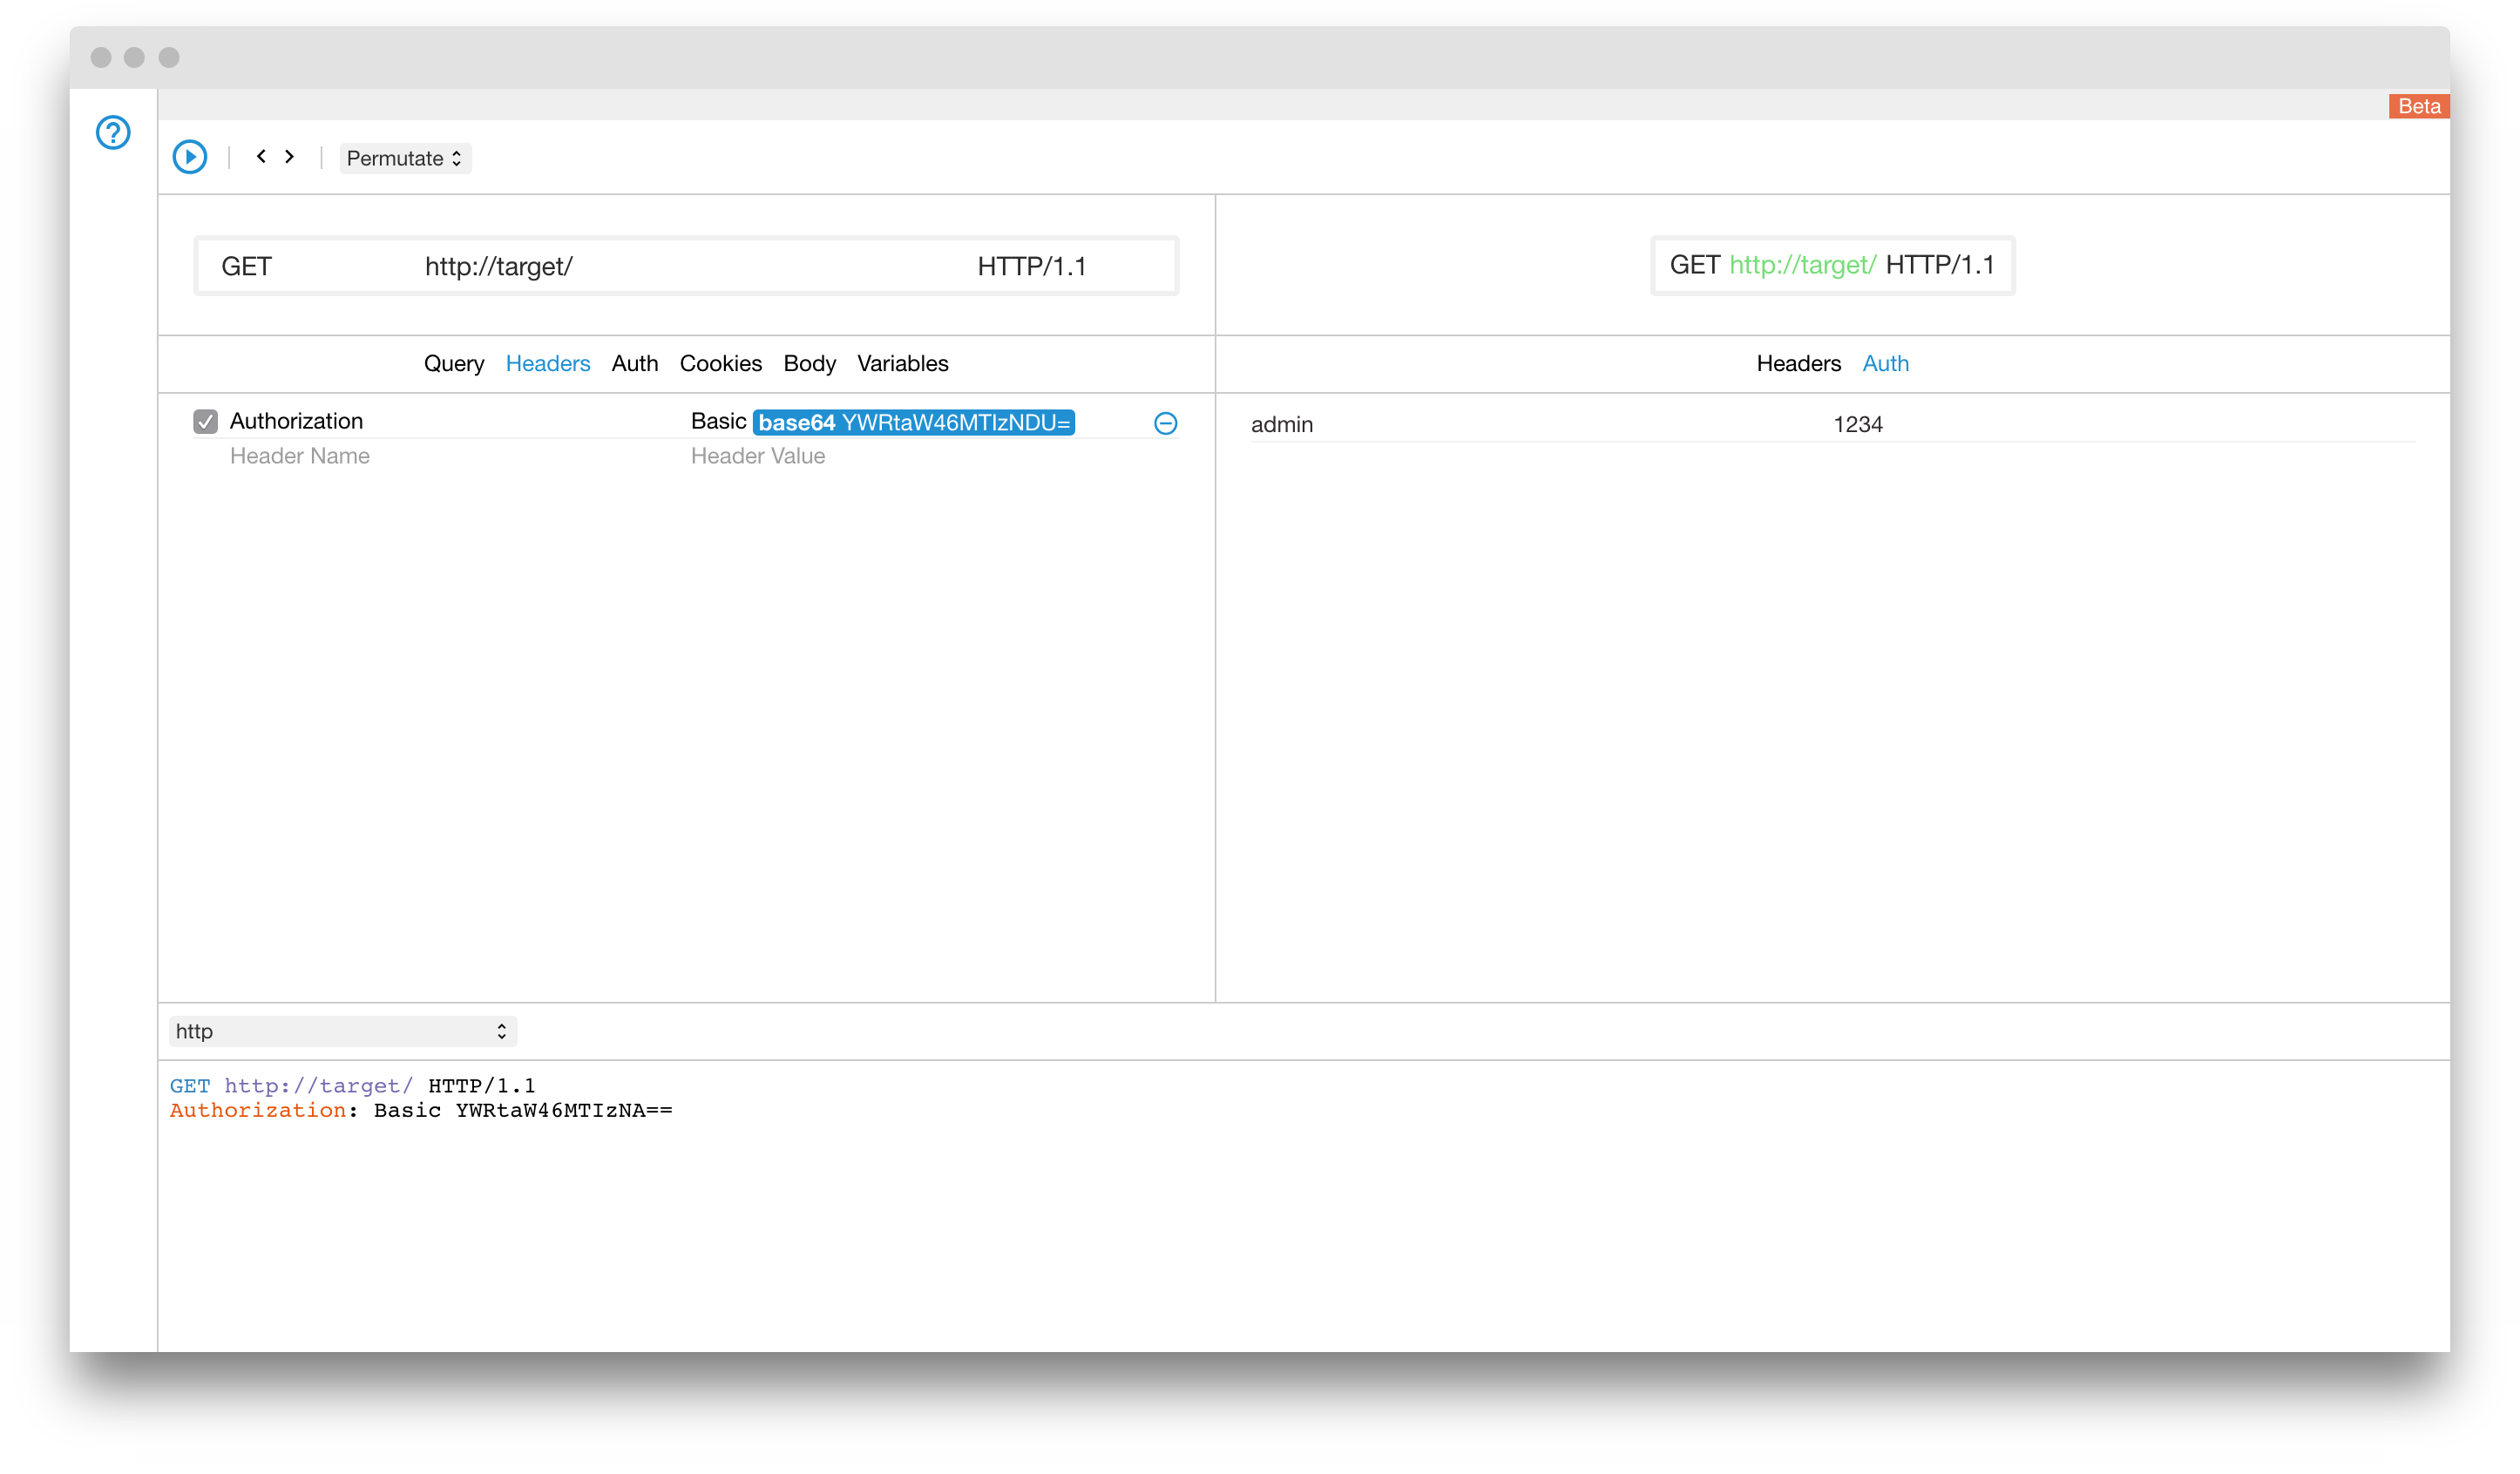
Step 7
We are almost done. You can preview what this setup looks like in practice by using the navigation keys.
Step 8
Press the start button. The fuzz is now in progress. We can pause, resume and stop it at any point and if we are lucky we will find a request which returns a 200 request instead of 401.
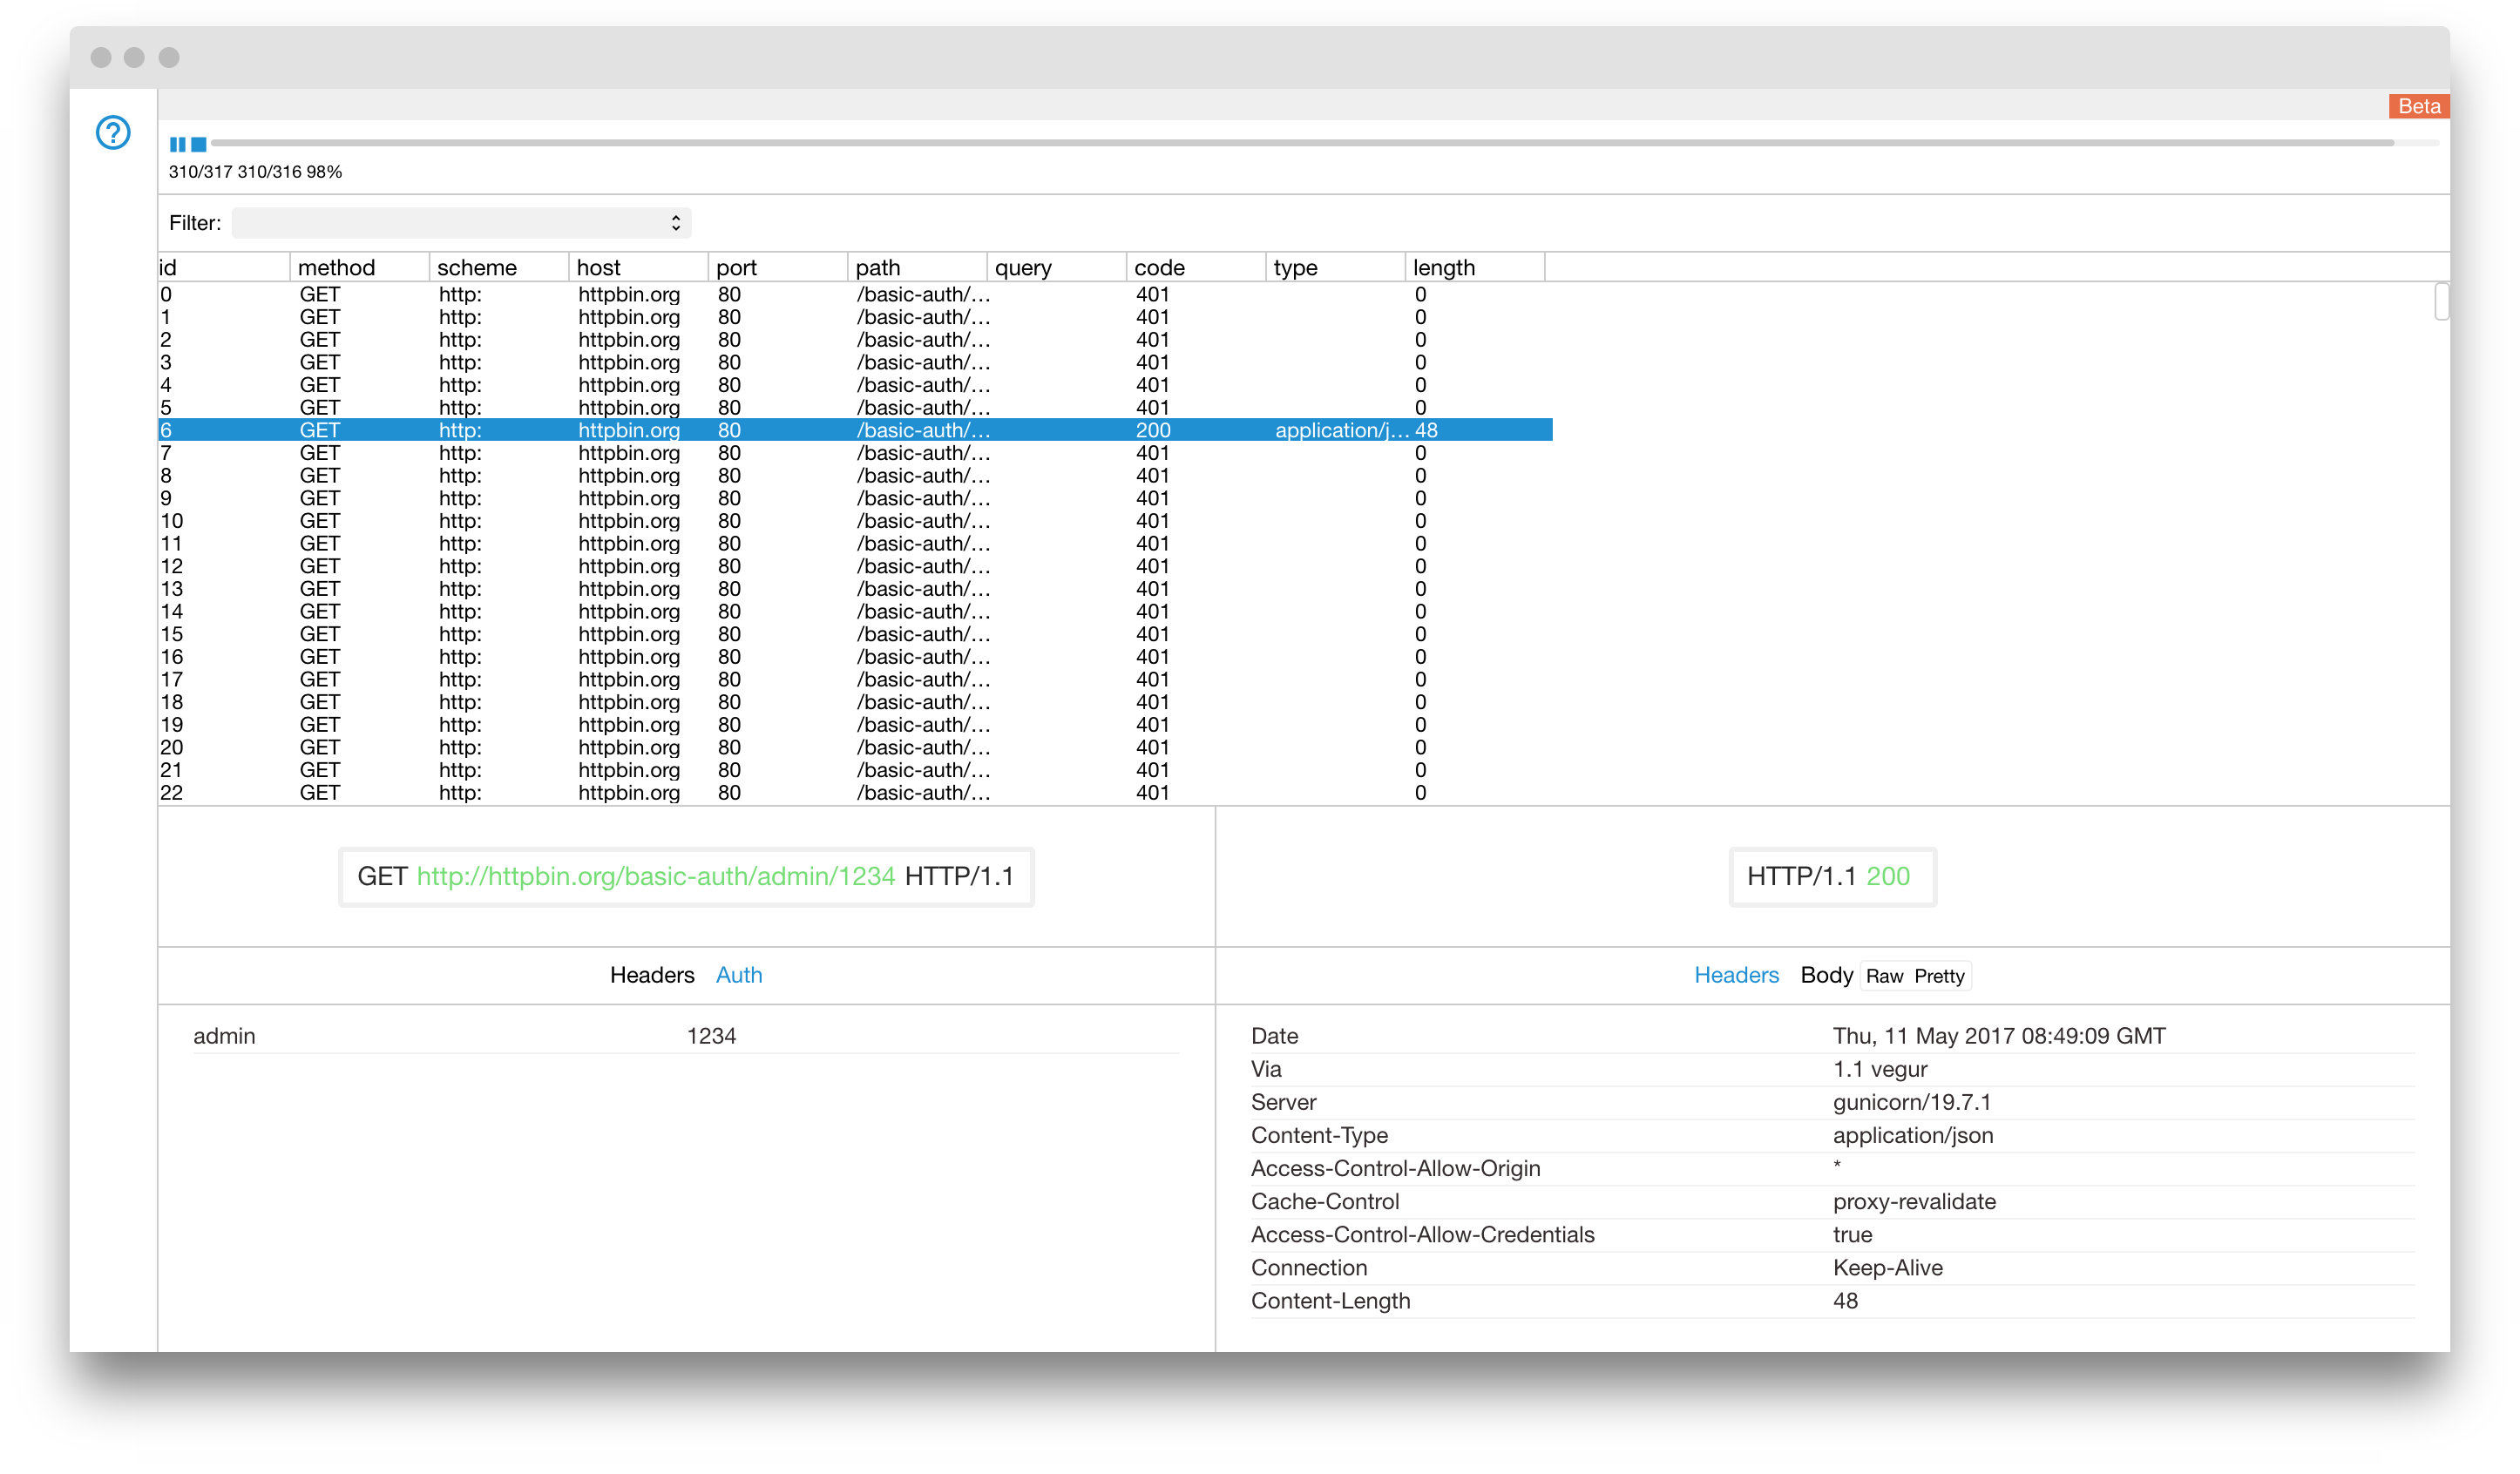
This is it. No programming required. You can use the same technique to crack virtually any type of login.